

Creating Private Planner Boards with Microsoft Loop
Alex Henry
2023-06-05
.jpg)
Contents


Planner may not have changed much since my last rant blog post back in 2022. Since then, the product team has added a few features from the backlog, including repeating tasks, grid view, suggested attachments, and something more appliable to today's topic - the ability to use Planner boards without a Microsoft 365 Group.
In this article, I wanted to introduce you to how the integration between Microsoft Planner and Loop works, and how to set it up.
Before we get into the good stuff, check out this video by Collaboration Coach if you're unfamiliar with Microsoft 365 Groups (formally "Office 365 Groups" and "Outlook Groups). Don't forget about Microsoft's own documentation too.
If you're unfamiliar with Microsoft Loop, this video will get you caught up quickly:
With the housekeeping out of the way, let's get down to business.
Setting Up a Loop Workspace
To try this yourself, first, must have the Microsoft Loop app enabled in your environment by a global admin.
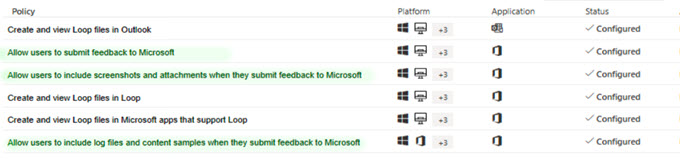 (source: Microsoft)
After your new cloud policies are setup, it may take a day or so before you can login to the Microsoft Loop app, so hold tight!
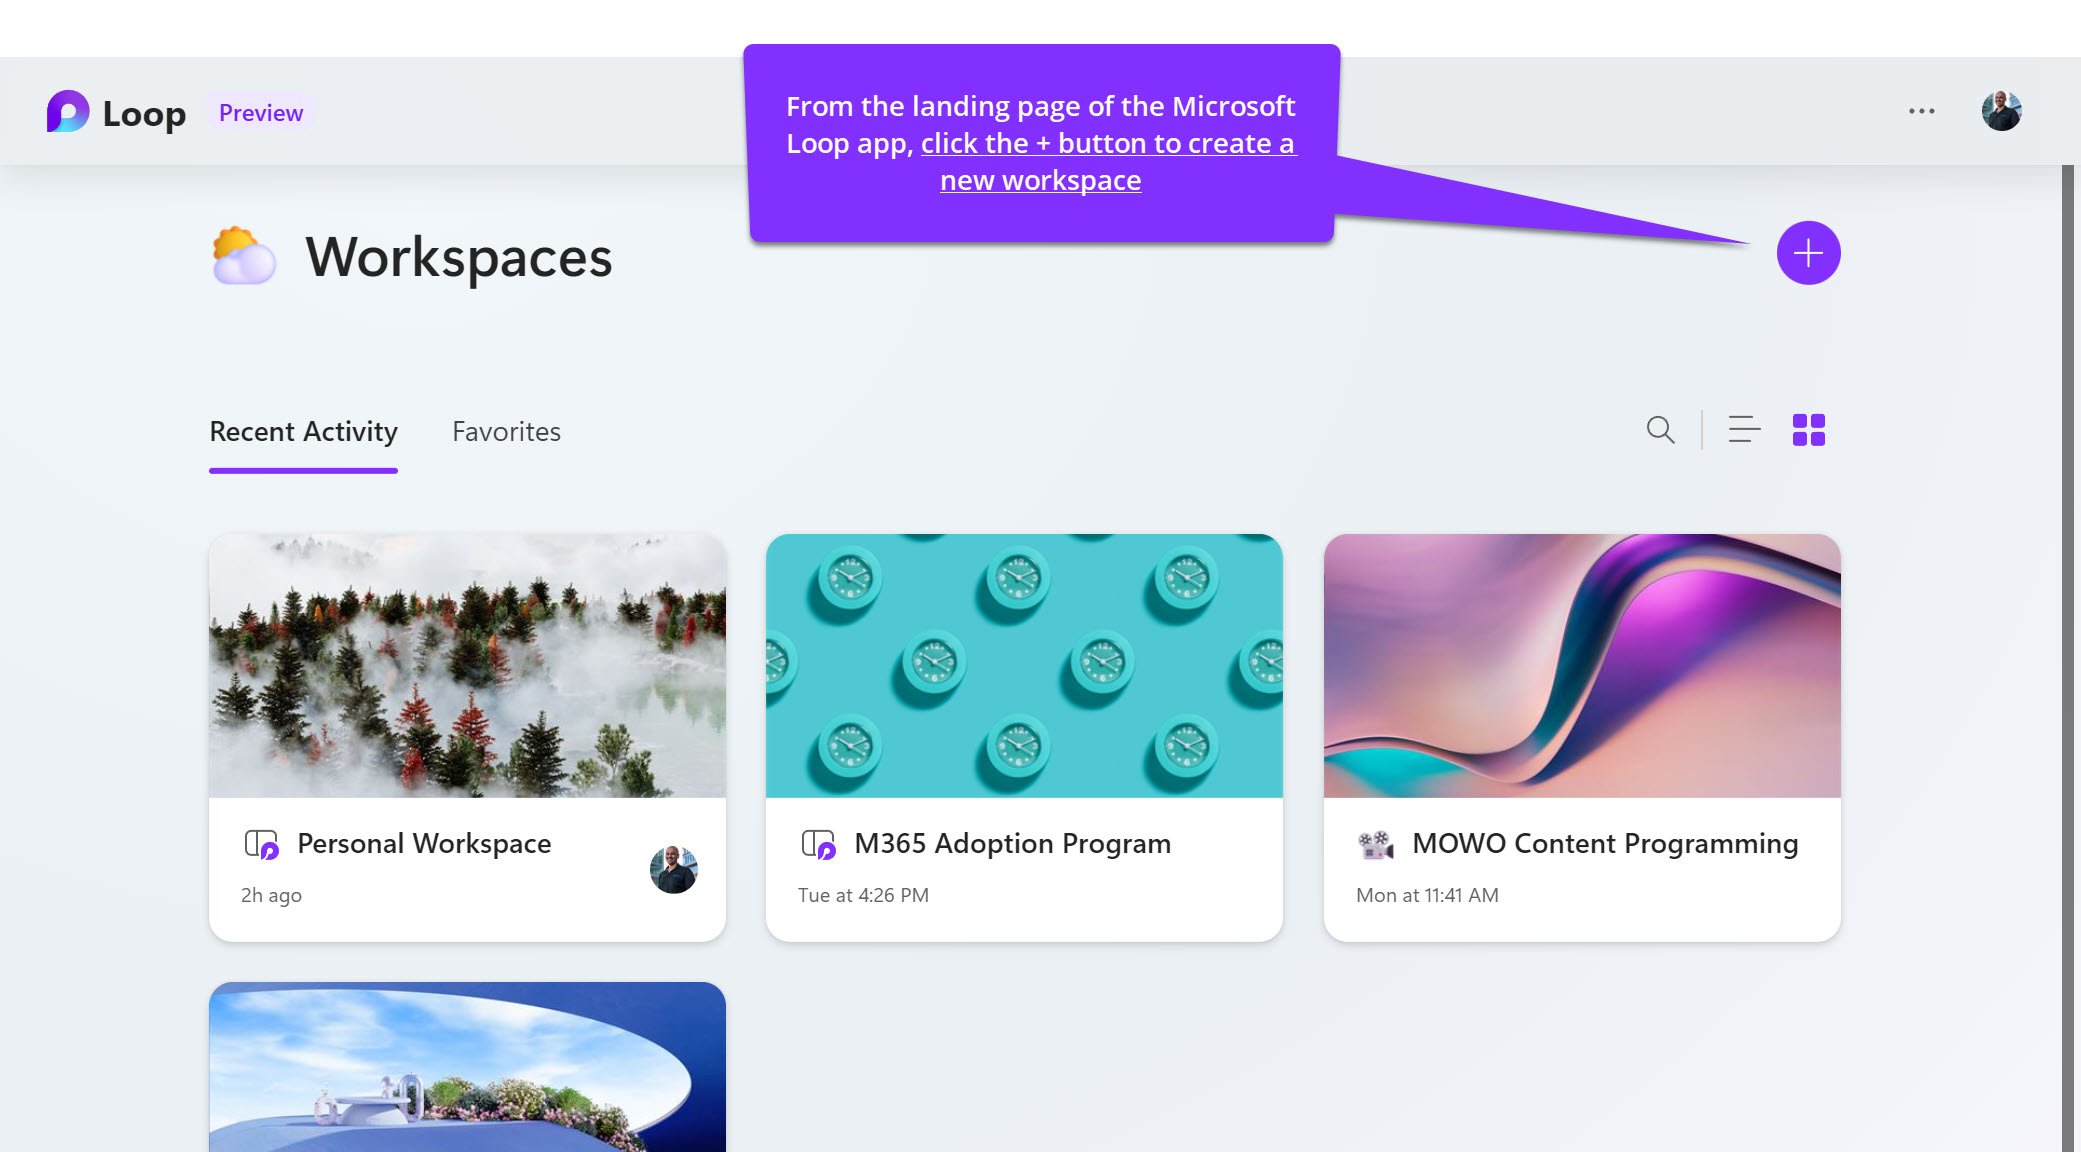
After you've made it into the app, create a new Loop workspace.
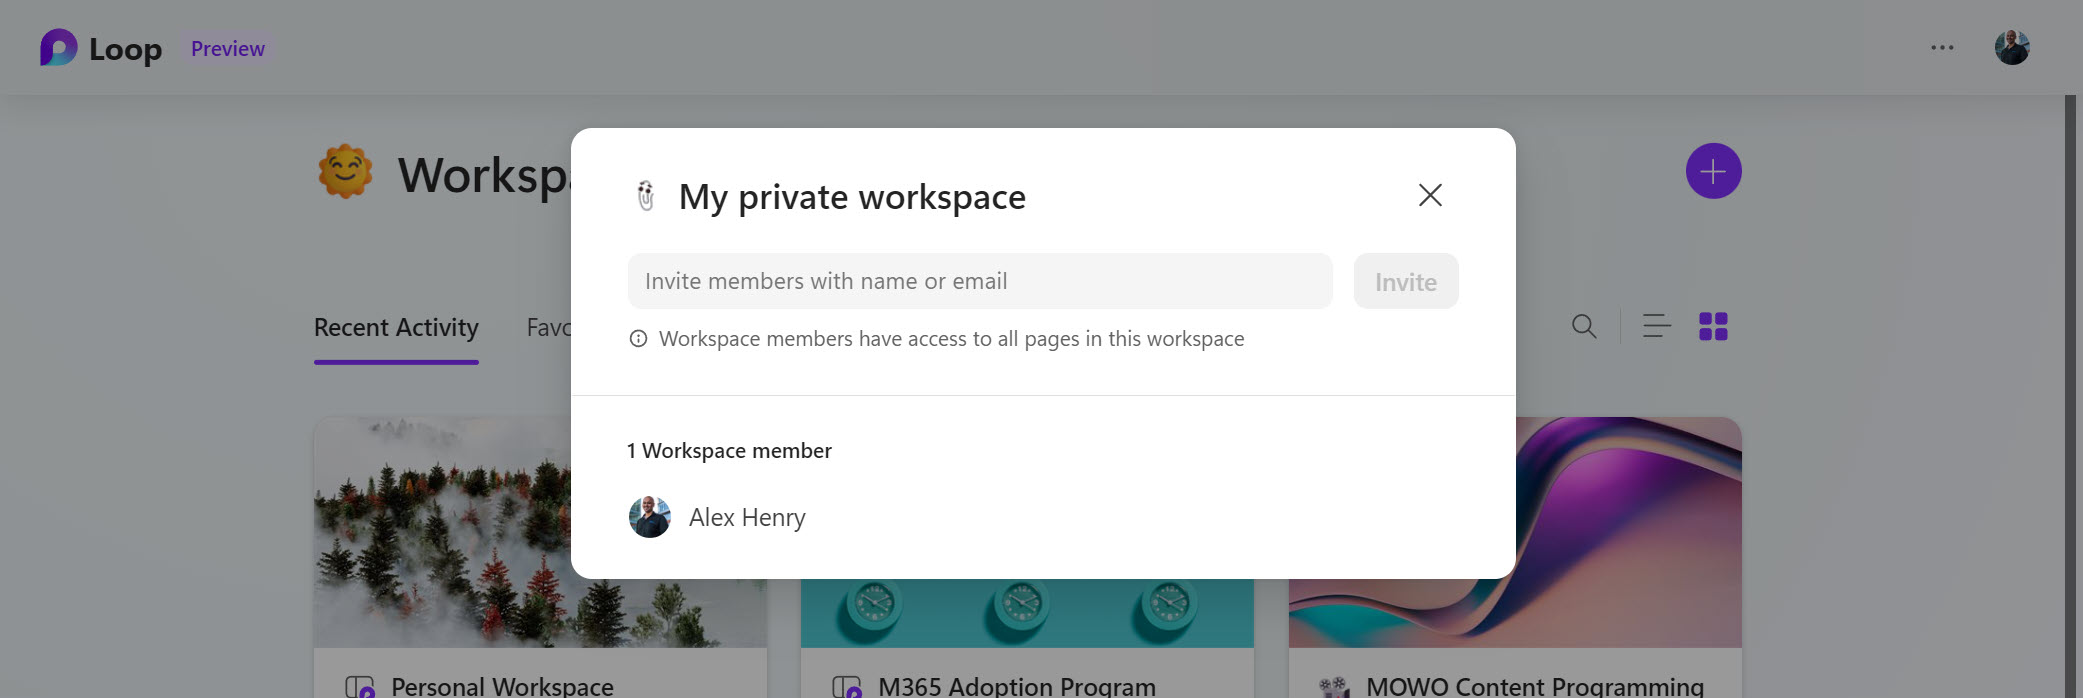
Your new workspace will be private by default. If you plan to collaborate with a few colleagues, you can invite them too.
Next, create a new page in your workspace. To help you get started, Microsoft has provided a few templates you can try.
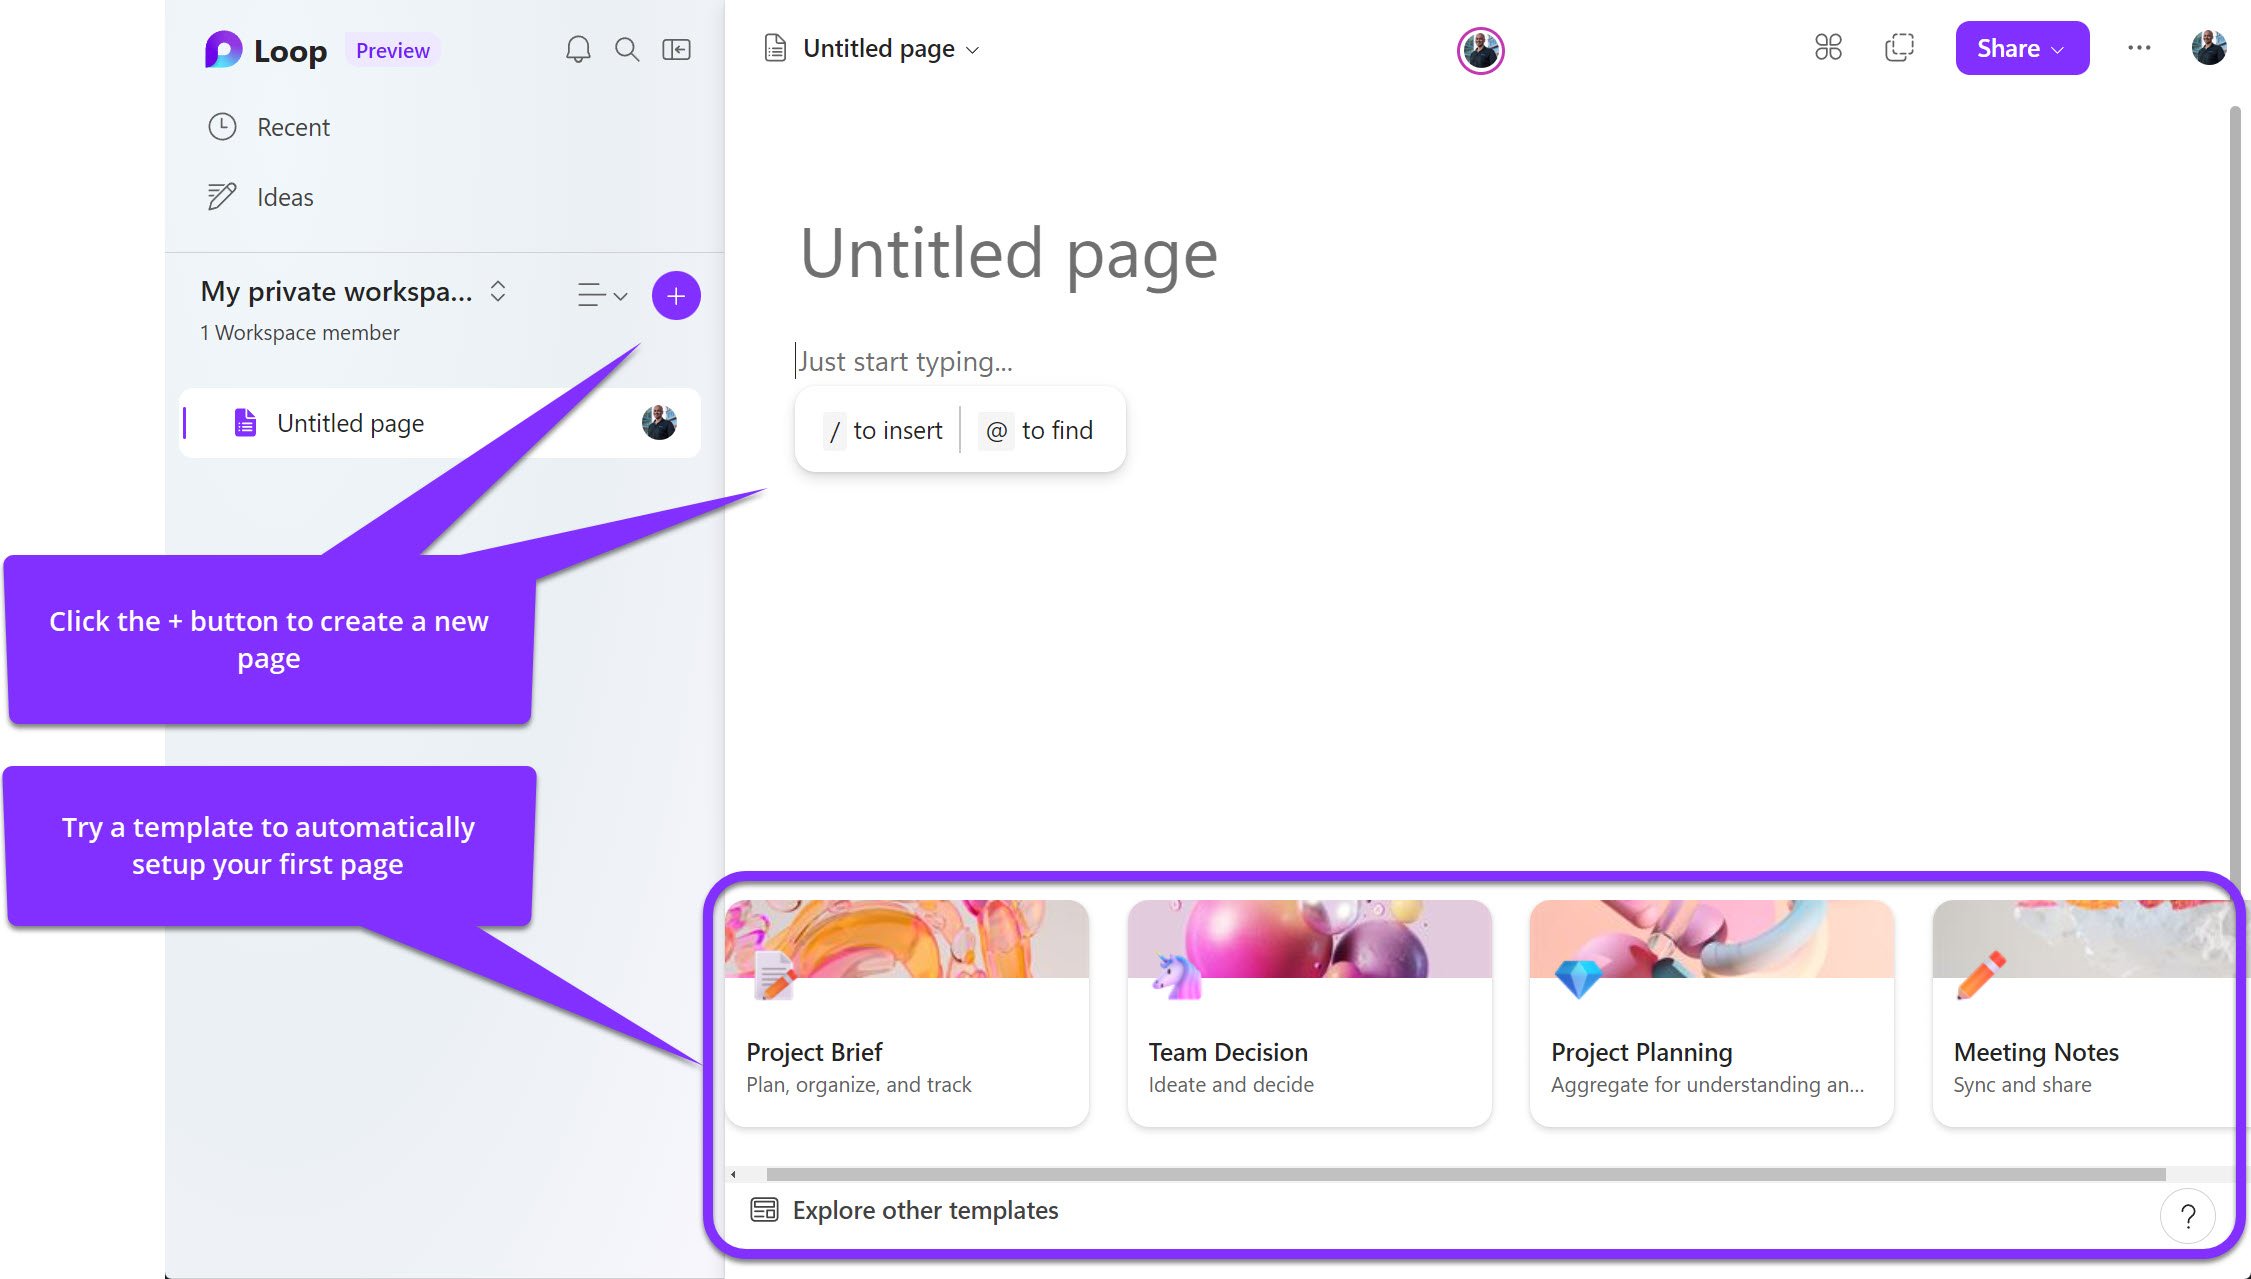
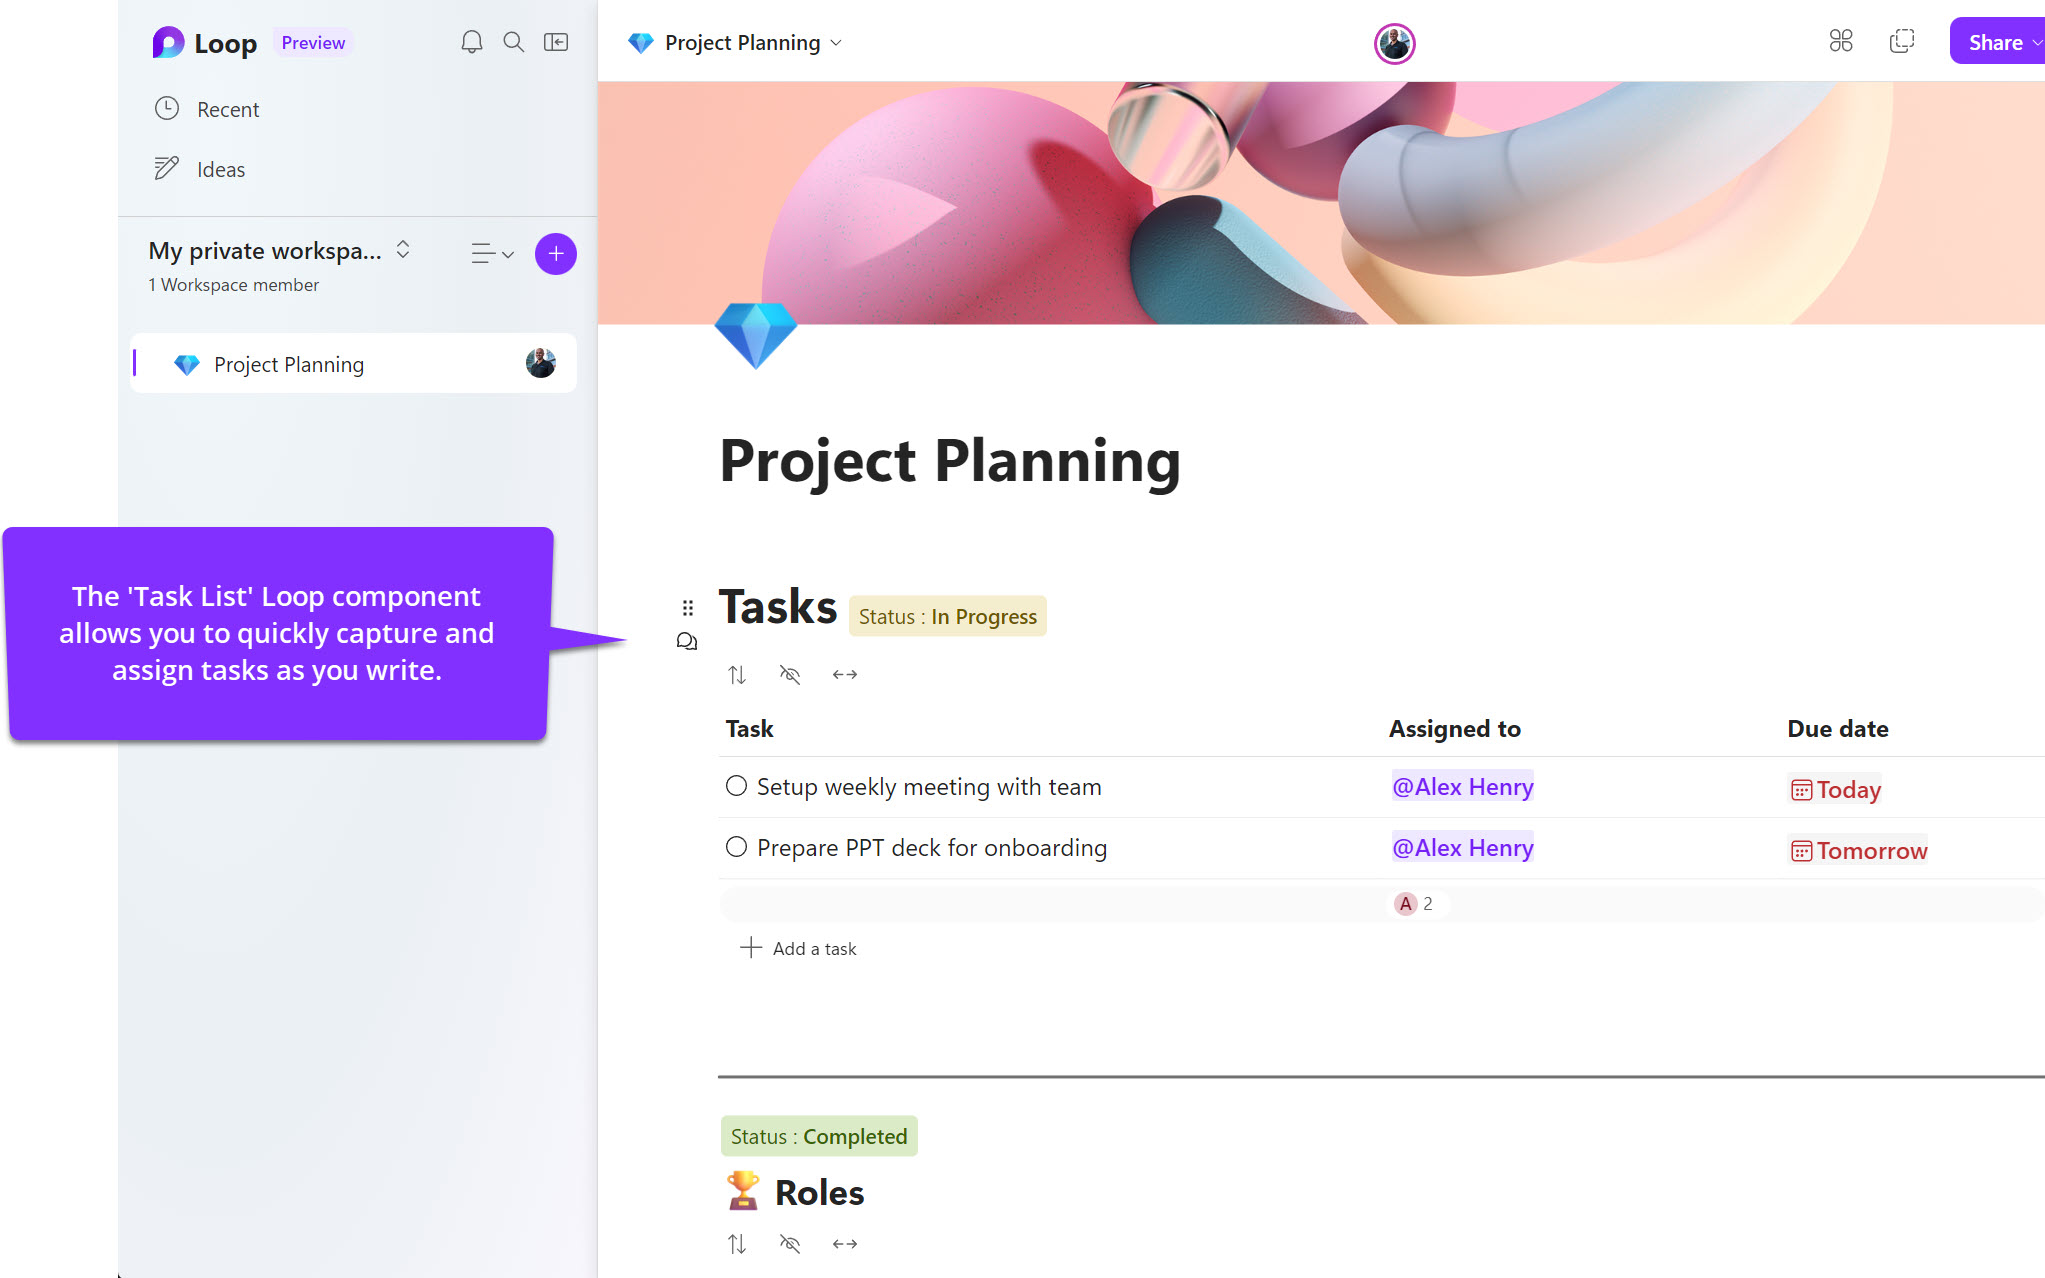
On your new page, add a "Task list" component to the page, and then assign yourself a couple of tasks.
Next, open up the Planner web app.
Within a few moments, you'll see a new Planner board added to the left-hand navigation under the 'Recommended' section, complete with a bucket with your tasks from Loop.
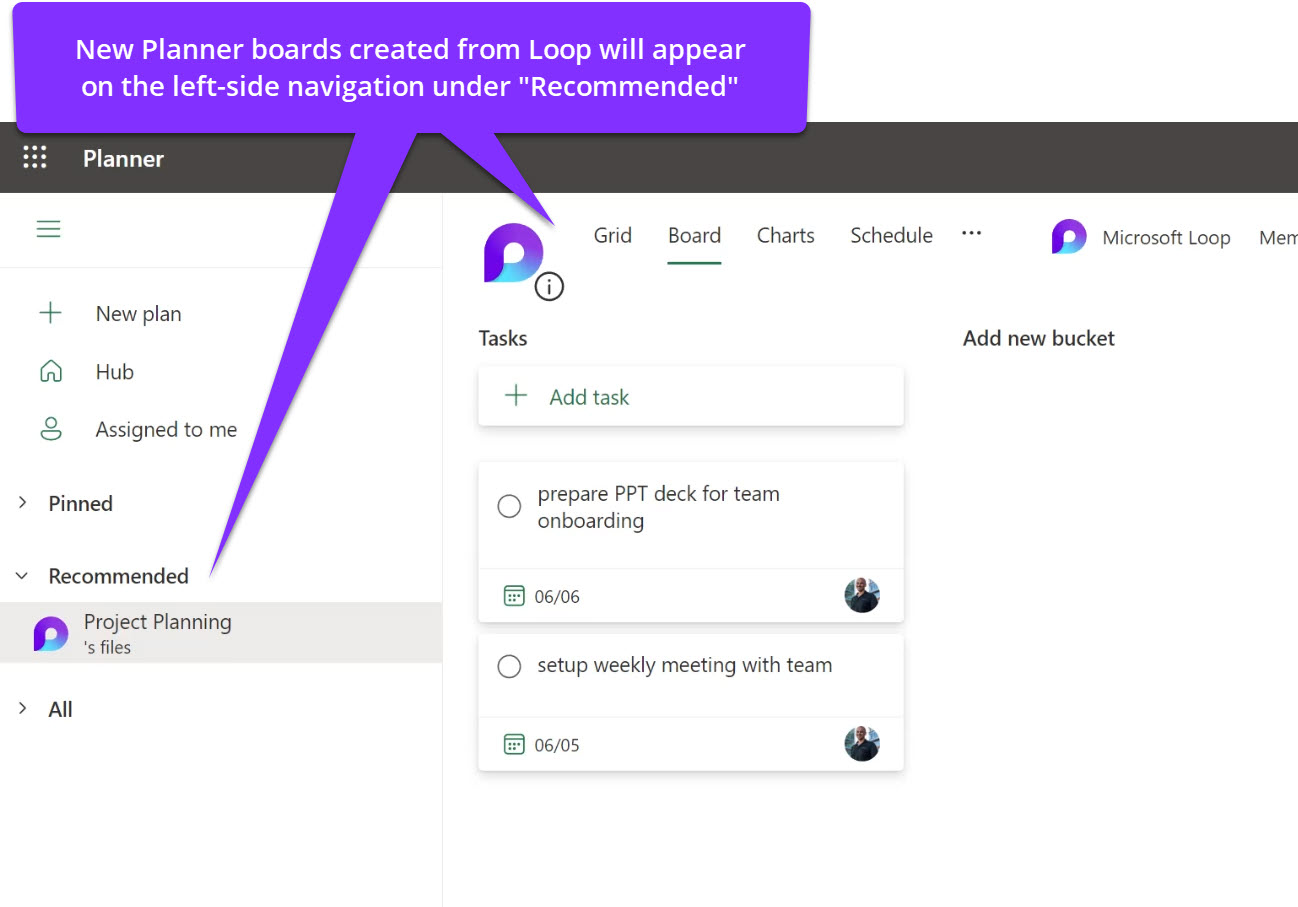
Easy enough, right? Create the task list and instantly get a Planner board, you can choose to use or ignore.
The "Loop-Connected Planner Board" Experience
On a side note, I hope I'm the first to coin the term "Loop-connected Planner Board".
This new Planner board is mostly identical to a 'classic' Planner board. The majority of bells and whistles are available to you here, but not ALL of them.
What's Different About Loop-Connected Planner Boards?
The core difference is that there is no Microsoft 365 Group behind this board. This means certain features are not available, including attachments and task comments.
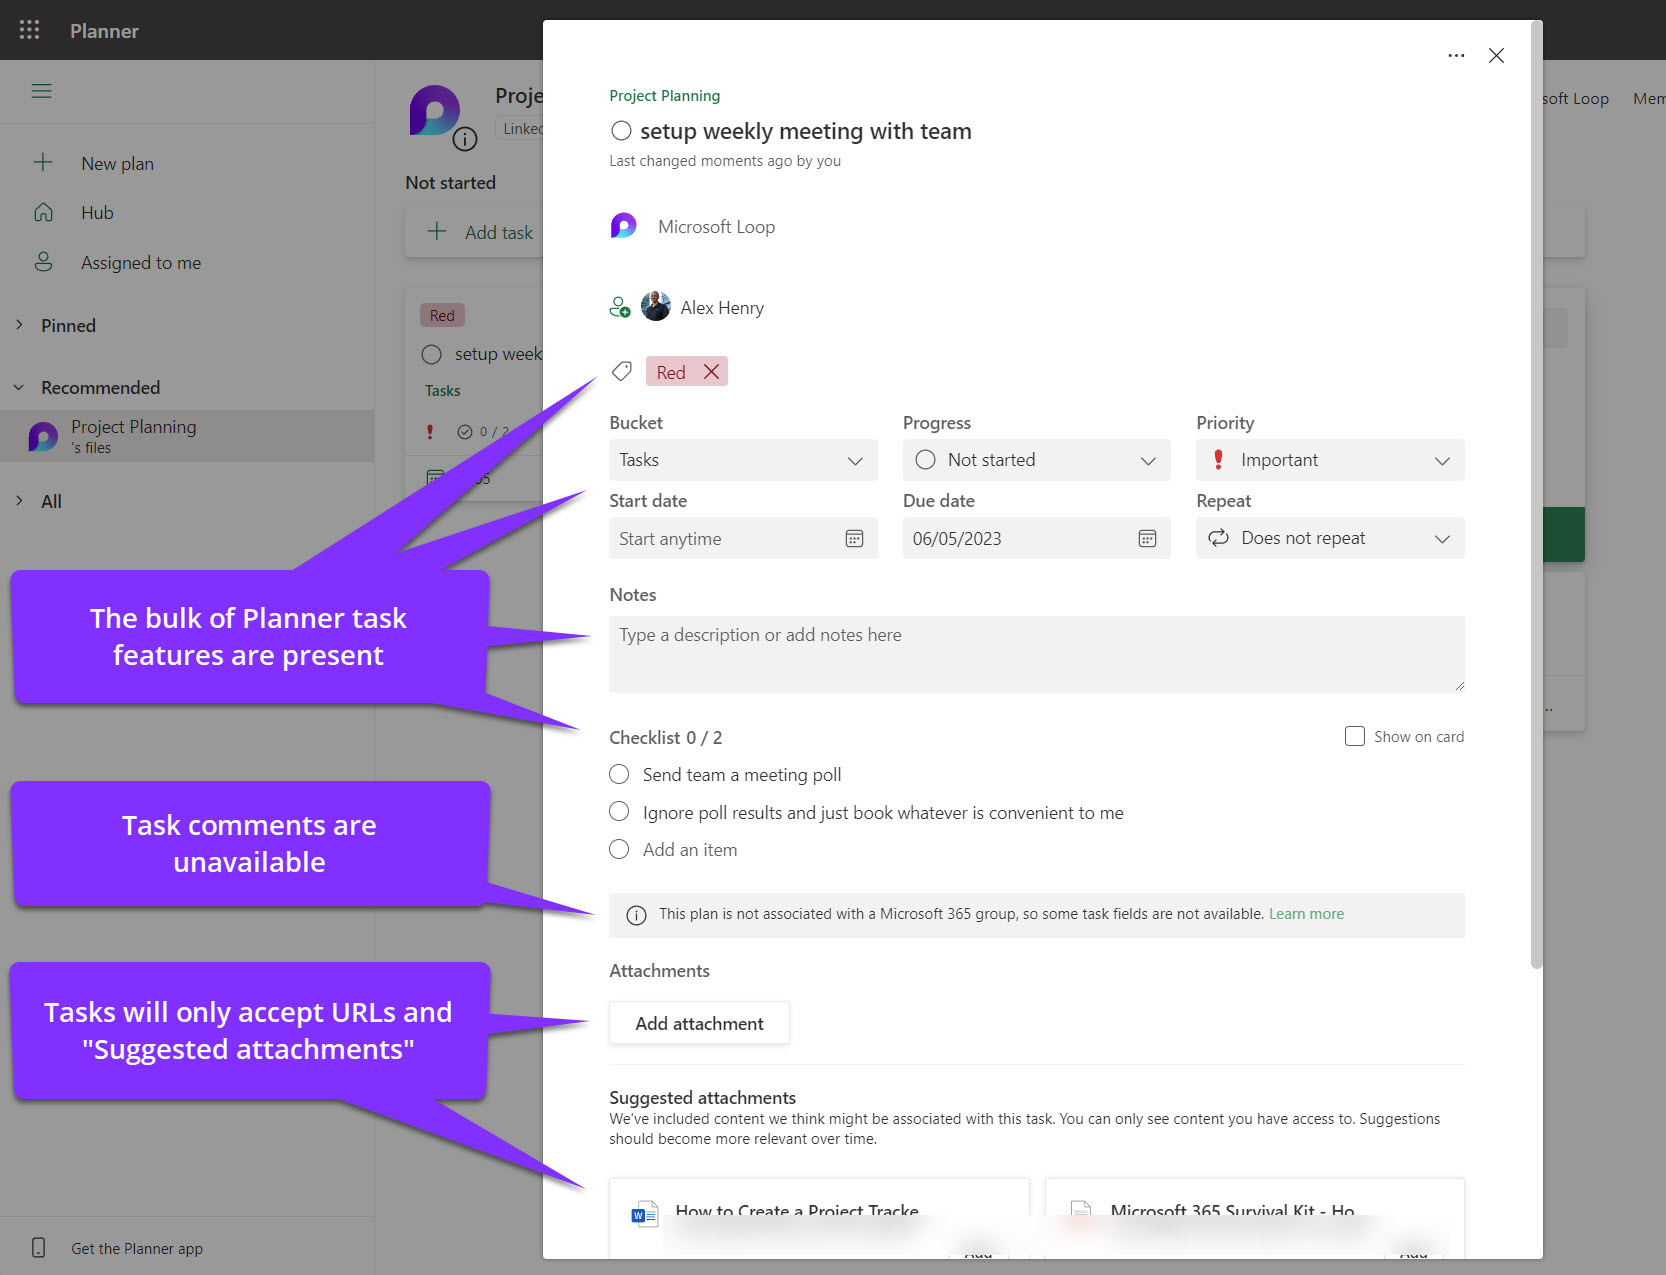
Planner tasks still support the addition of URLs, so there's nothing stopping you from pasting links to shared files here. In fact, 'Suggested attachments" are still available for your convenience.
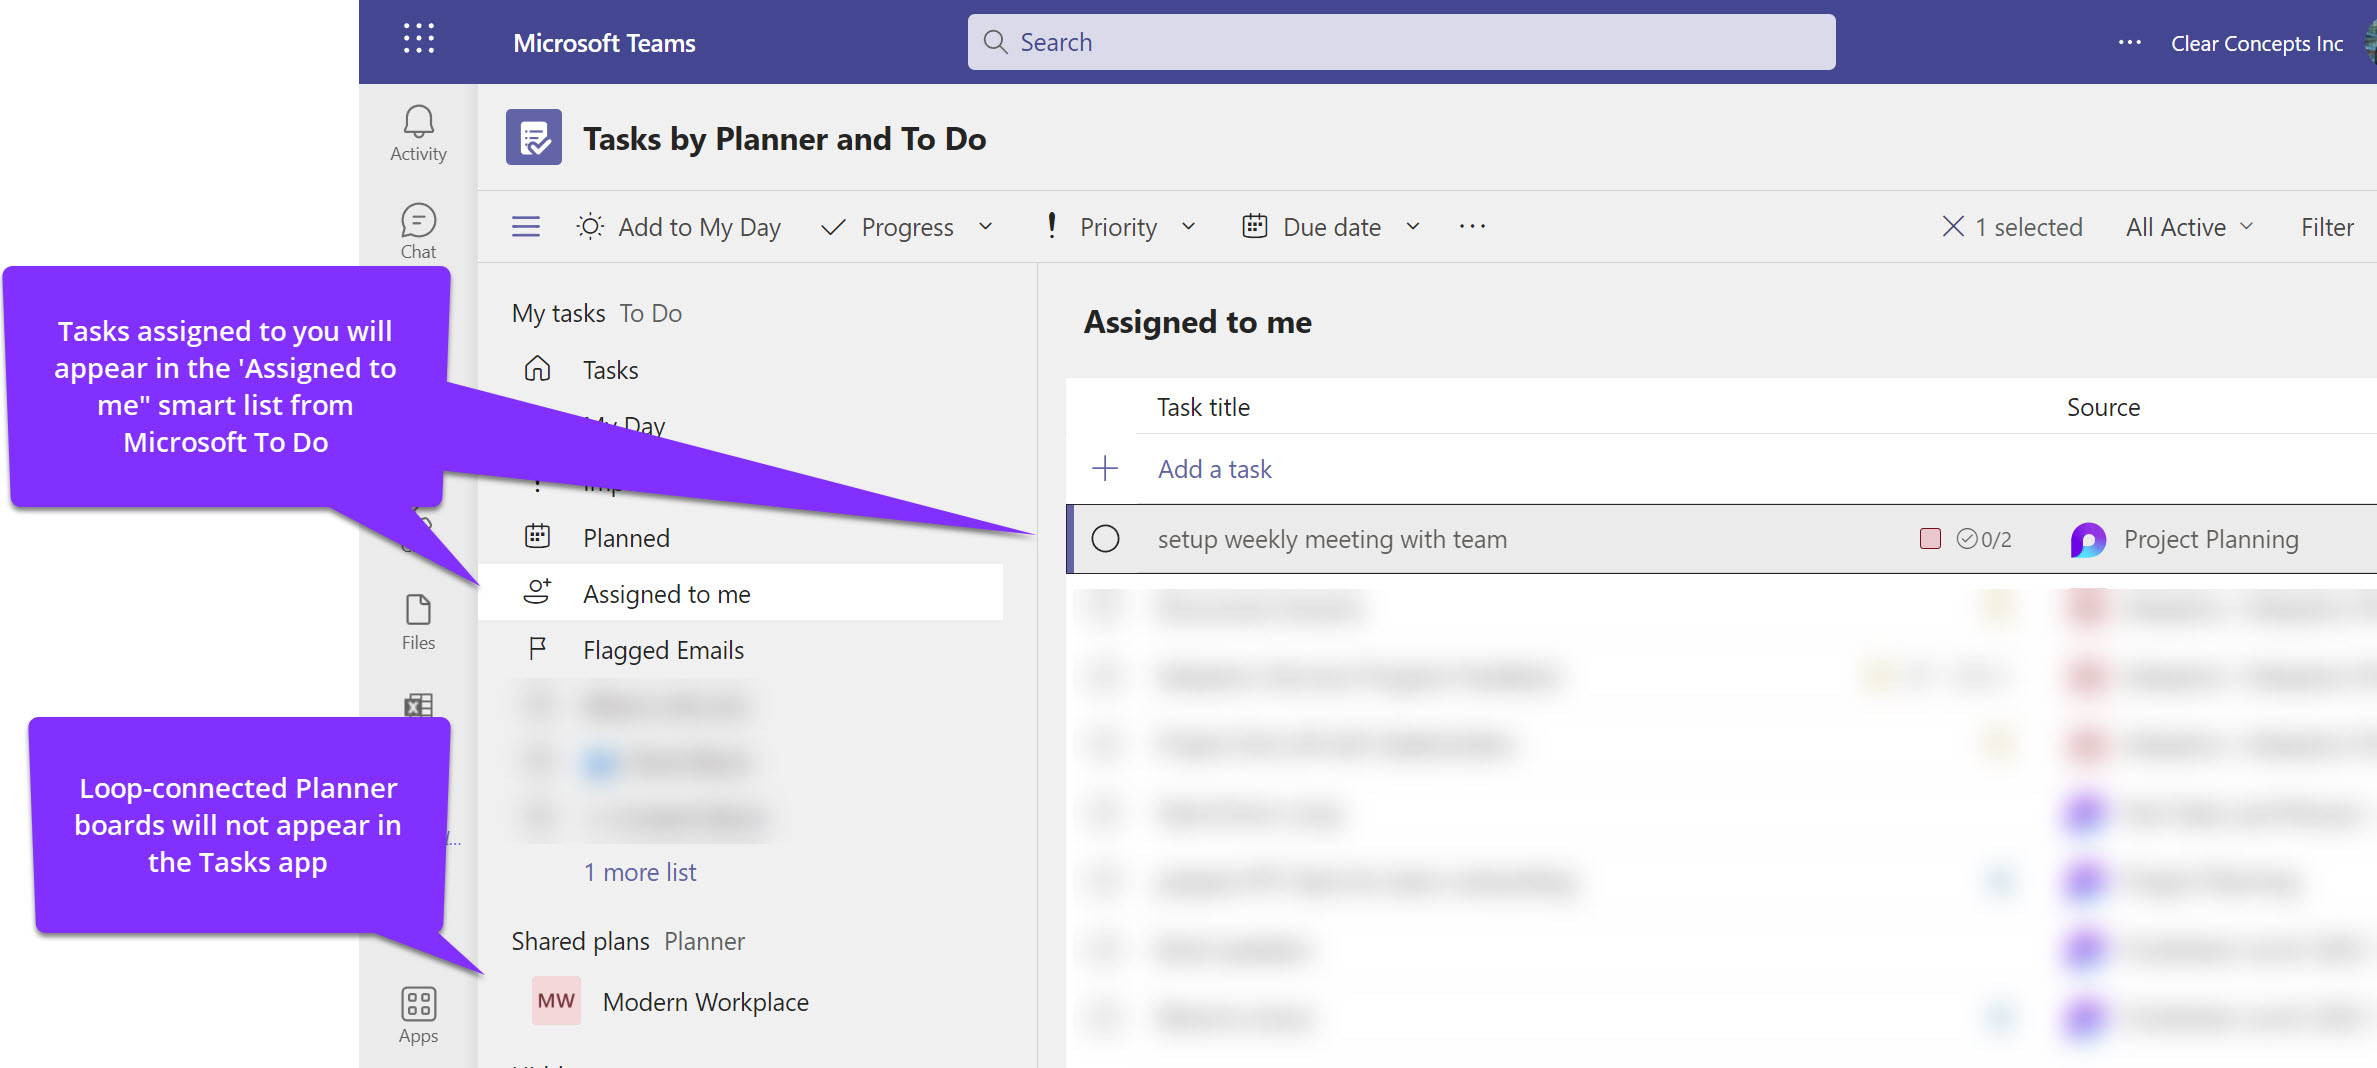
One other difference is that the 'Tasks for Planner and To Do' app in Microsoft Teams does not support Loop-connected Planner boards. However, you can leverage Microsoft To Do's smart list "Assigned to Me" to see all tasks with your name on them.
What features are available in Planner?
Aside from what I listed above, the rest (or most) of Planner features remains intact.
In tasks, things like notes, labels, recurring tasks, checklists, and the progress fields are all still available to you.
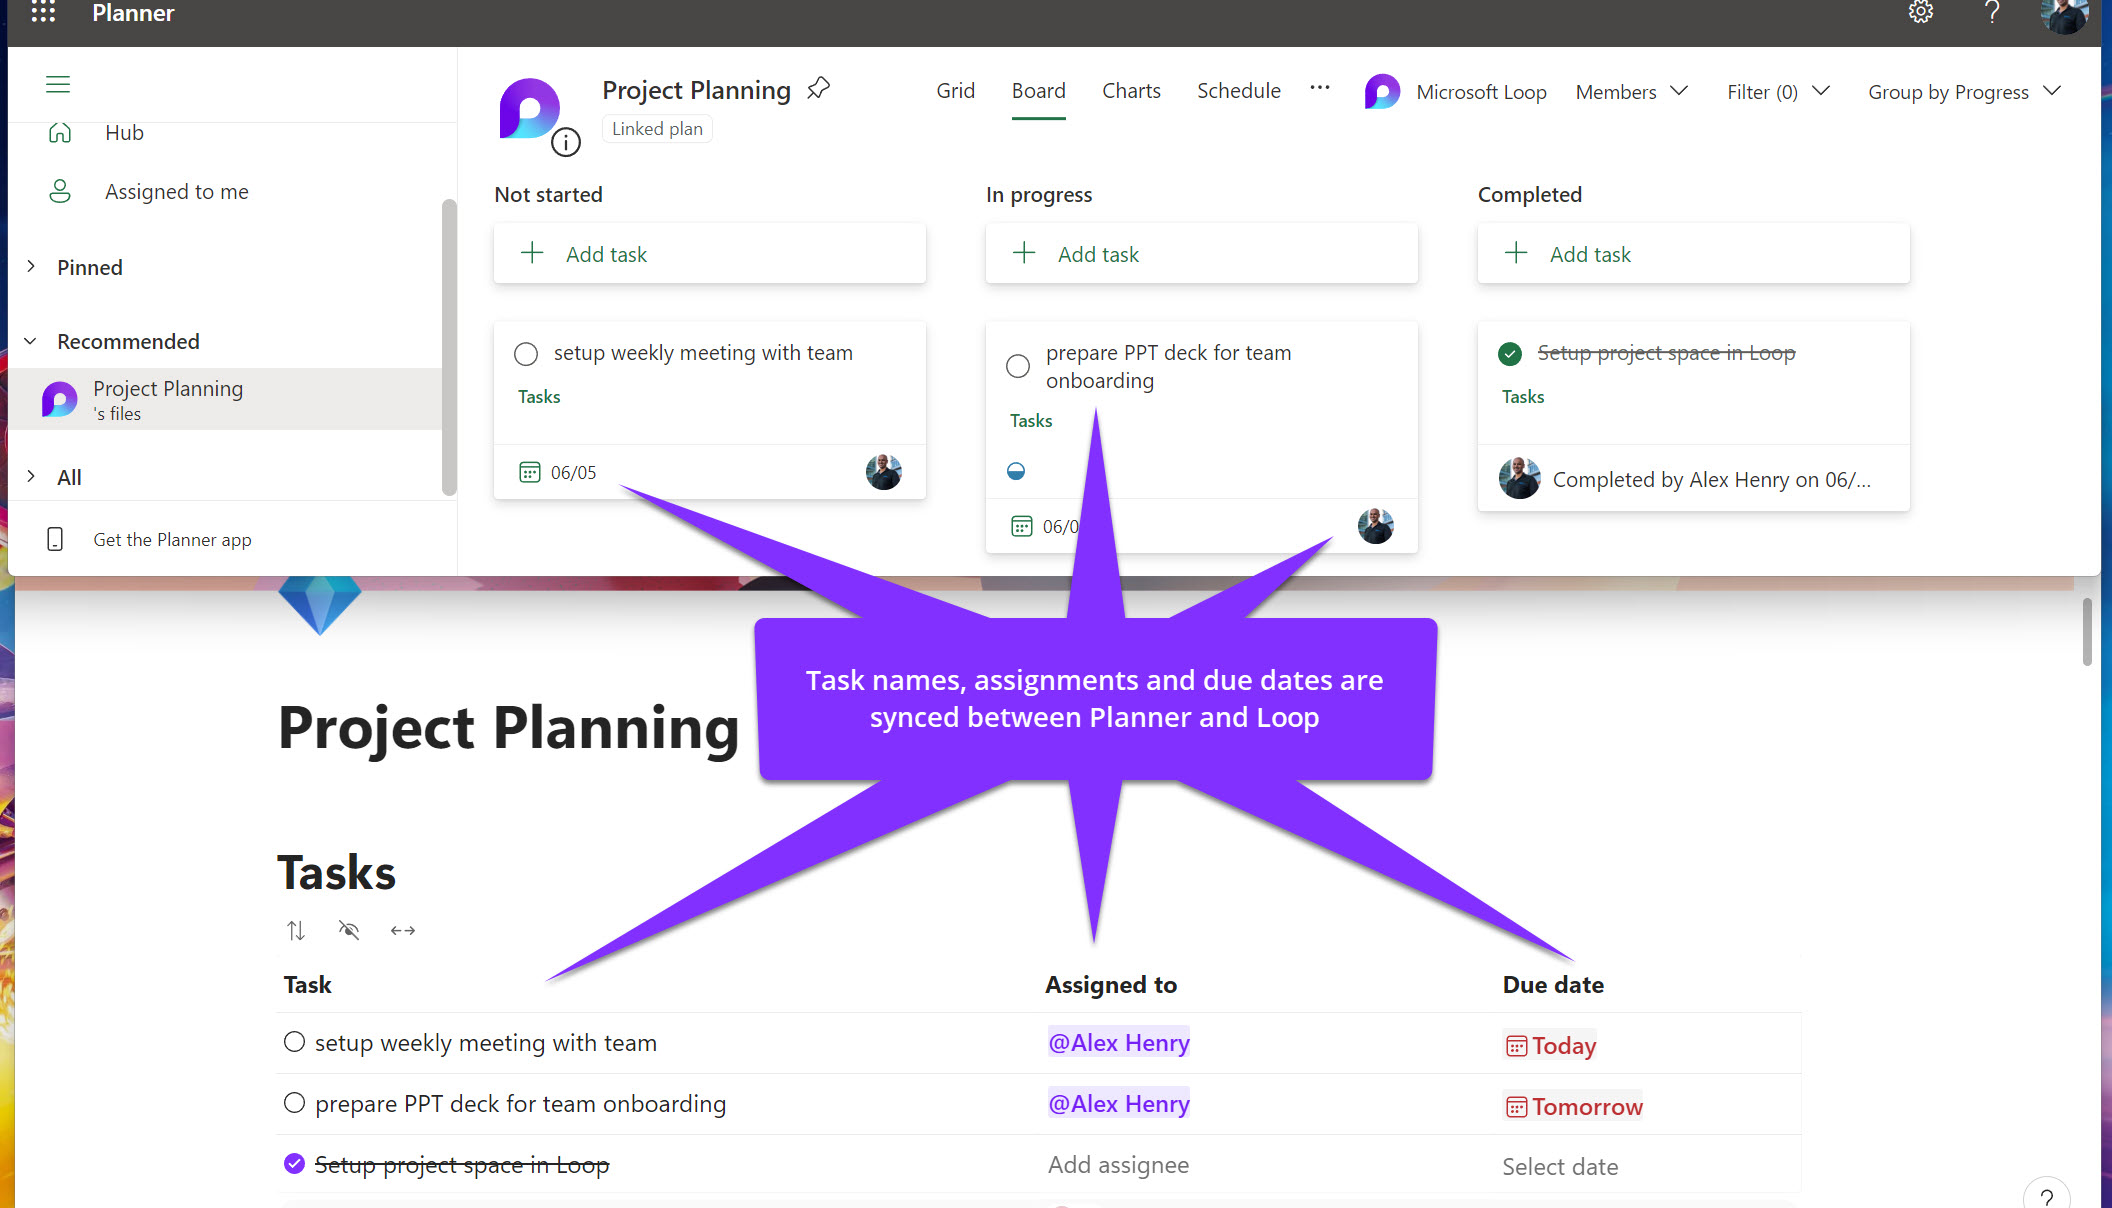
Additionally, the task name, 'due date' and 'assigned to' fields are synced with the task list in Loop.
Planner board features like smart backgrounds, custom buckets, Outlook calendar syncing, and the rest all still work as expected.
How do I "close" a Loop-connected Planner Board?
As per Microsoft's documentation, the board is deleted when the last person leaves.
If you are the only member of the board, you can simply delete it.
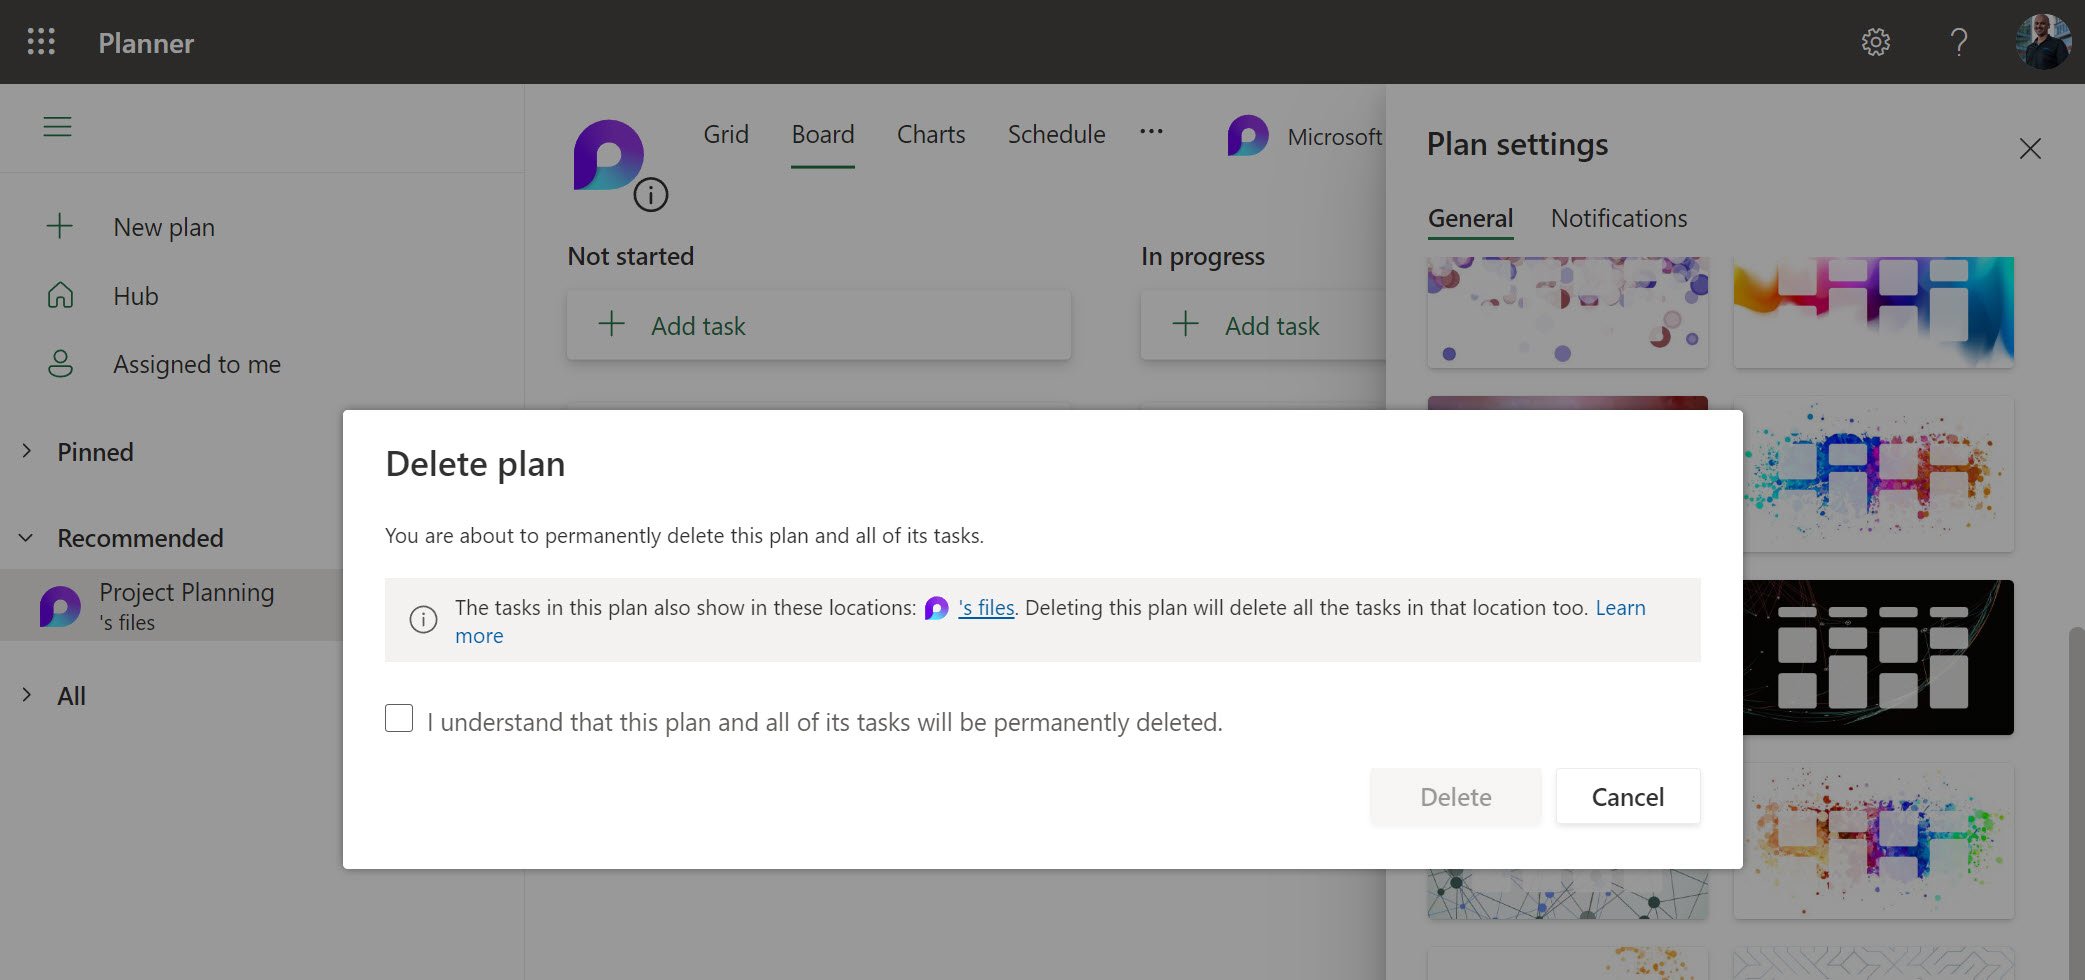
What happens if the page in Loop is deleted? Well.. nothing! I don't fully understand why, but the Planner board and tasks are unaffected - even after the page and the Loop component are gone.
Just remember that when dealing with Planner - when something is deleted, it's gone and cannot be recovered.
Closing Thoughts
This new integration with Microsoft Loop and Planner is a very welcome addition.
While this update doesn't resolve my past (and current) gripes about Planner, I believe this integration adds value to Microsoft Loop.
You can start with a simple task list in Loop while planning a project, and then break out the Planner board during execution.