

Share Company News with SharePoint
.png)
Contents


Go beyond just email by sharing critical updates, resources to remote workers using SharePoint. Video and job aid inside...
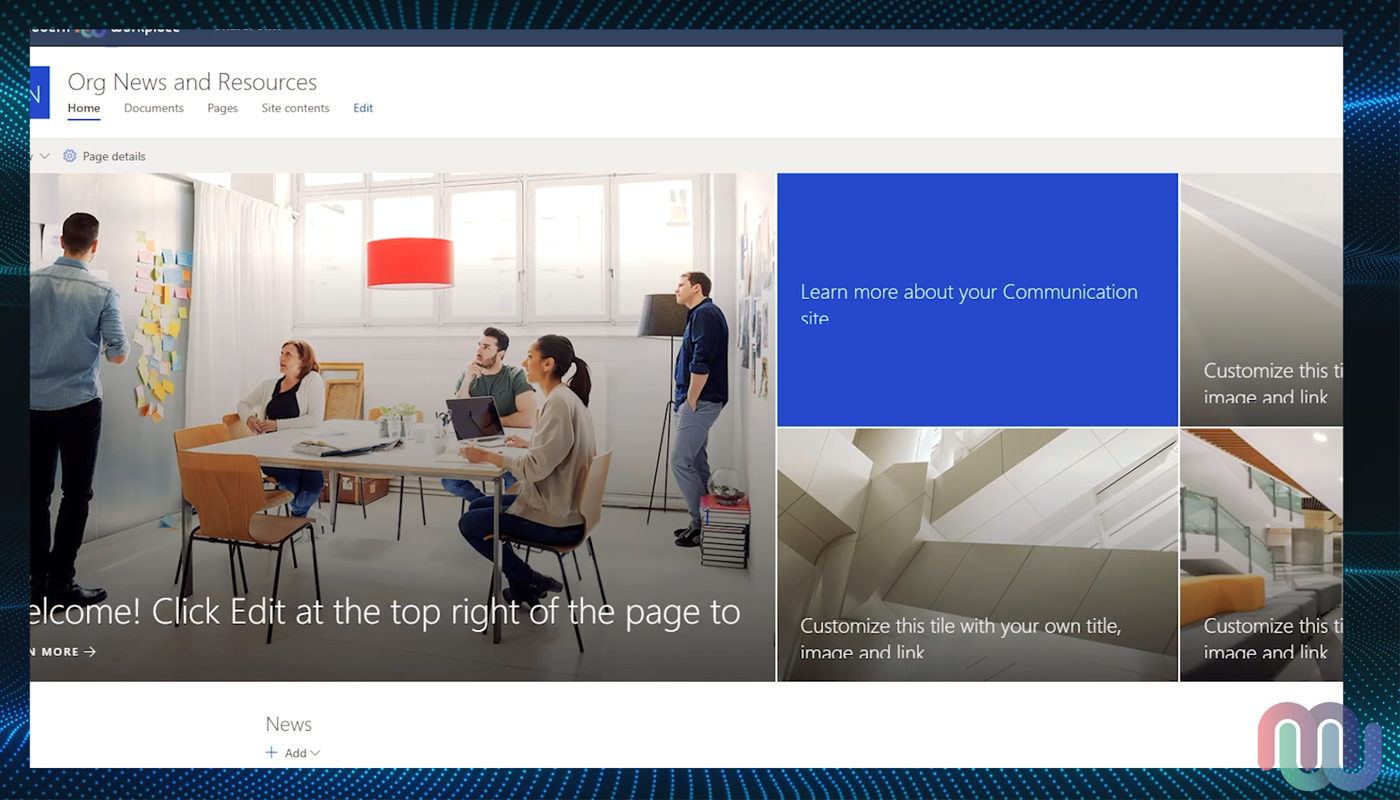
Create a central hub for news and resources using a SharePoint Communication site. Craft rich messages and share them across your organization through email, Teams and more.
Note that this job aid was designed using the out-of-box modern SharePoint experience. Your experience may vary based on your individual tenant.
1. Create a SharePoint Communication site using the “Topic” theme
First, login to www.office.com with your Office 365 credentials (work email and password). Once you’re on the screen below, click “SharePoint” to launch the SharePoint home.
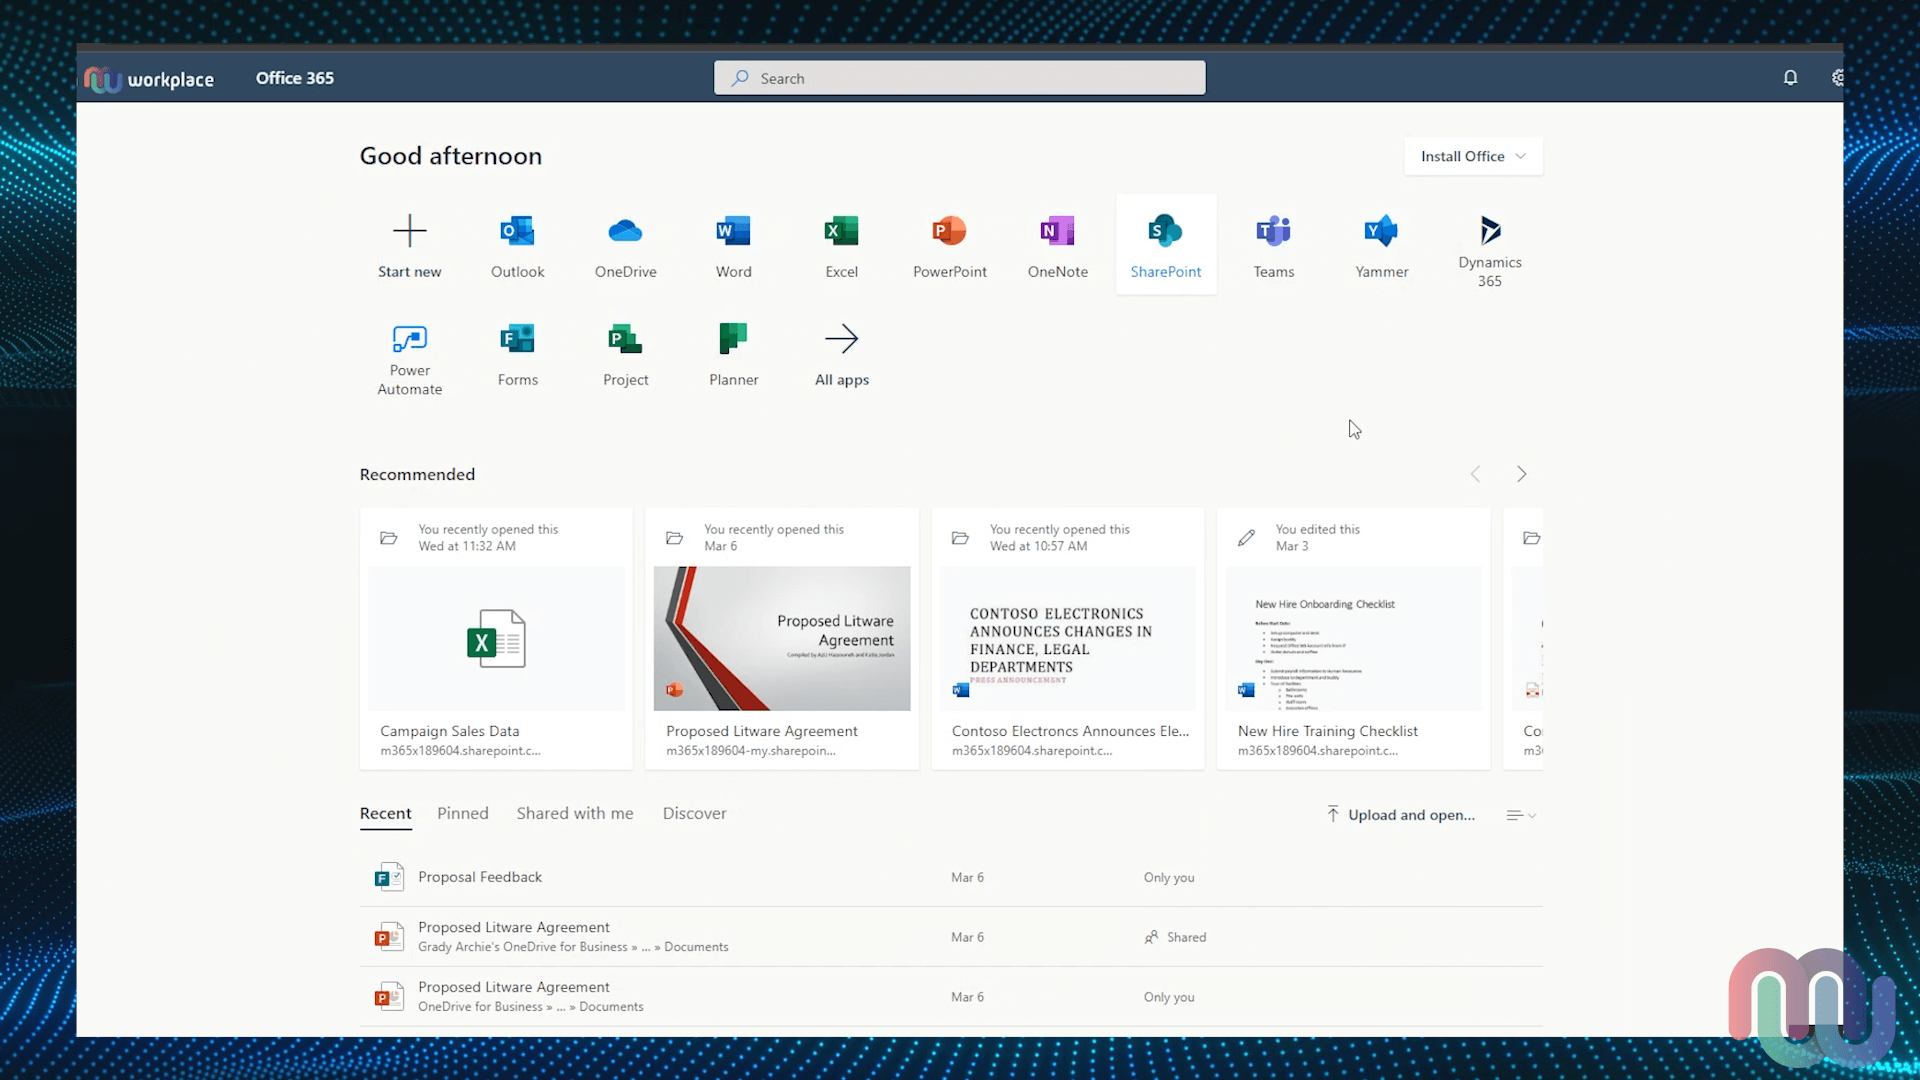
It’s okay if your SharePoint home page looks different as your organization may have customized theirs. Some will look clean and modern like shown above, others may look like a potato.
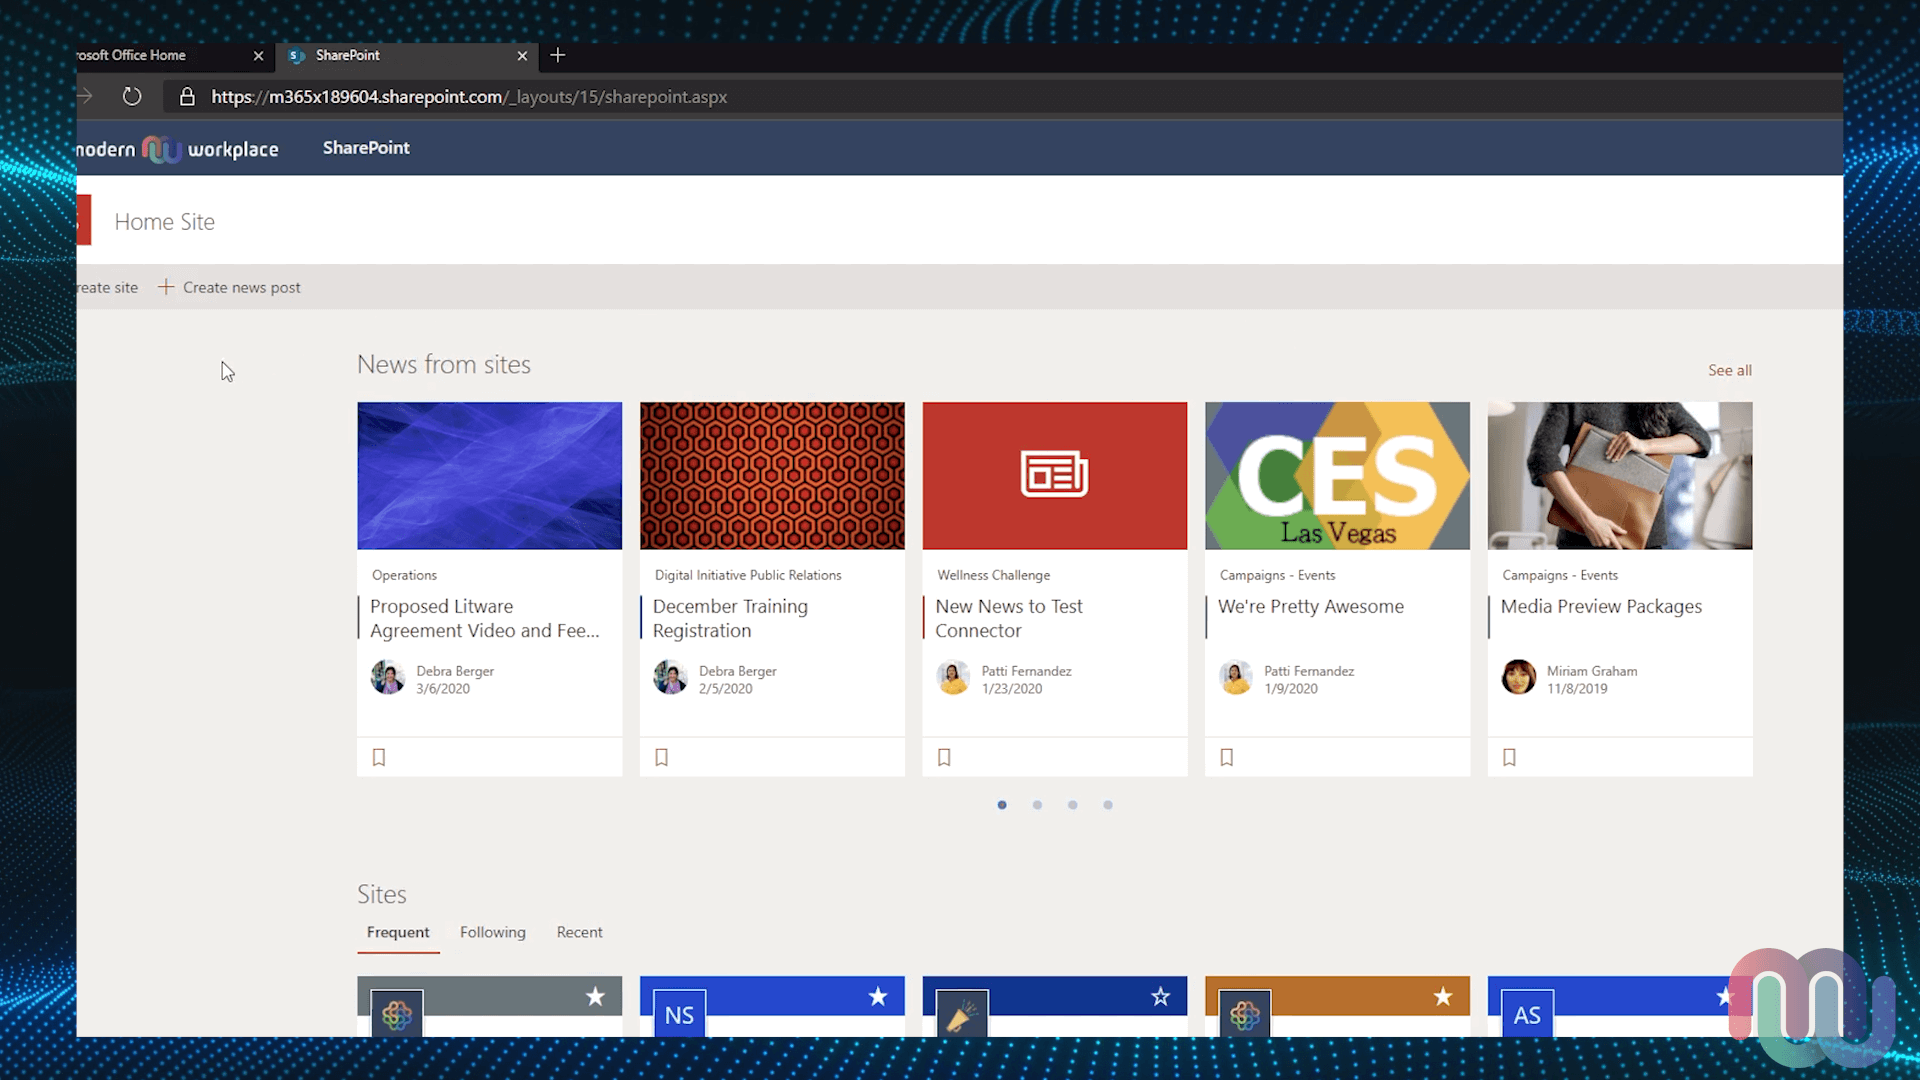
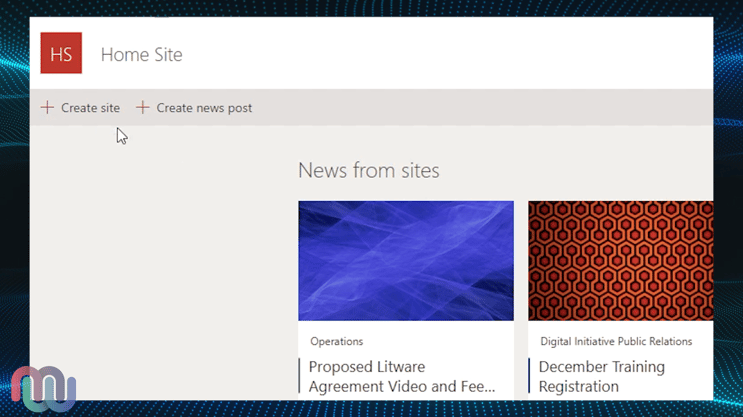
Click on “Create Site” and select “Communication site” as the type of site we’ll be making. If you’re interested in learning the difference between Team and Communication sites, click here.

On the next screen, you can choose different design templates for your communication site. Ensure you have the “Topic” template selected.
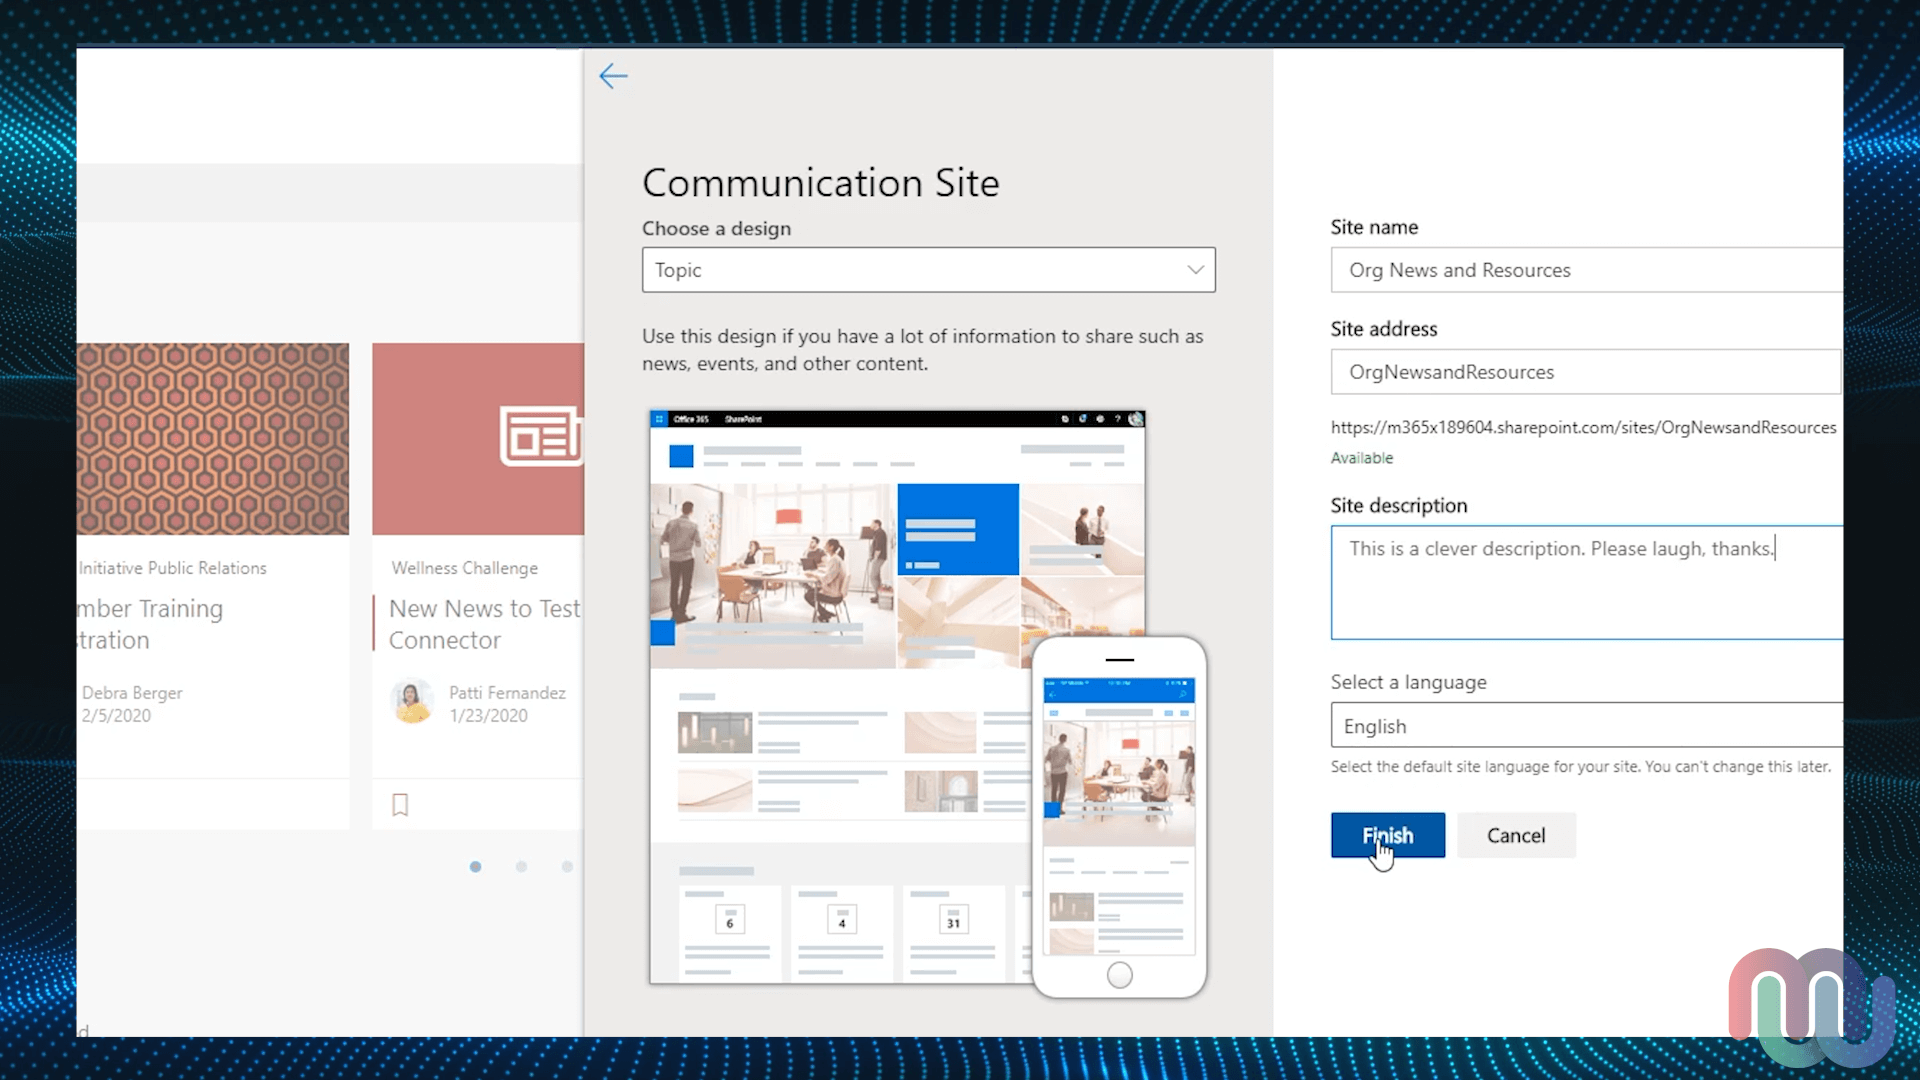
Next, give your site a name and a description. Then click “Finish” to create your new site.
2. Add Site Contributors
To add additional site owners and contributors, open the site setting by clicking on the gear icon.
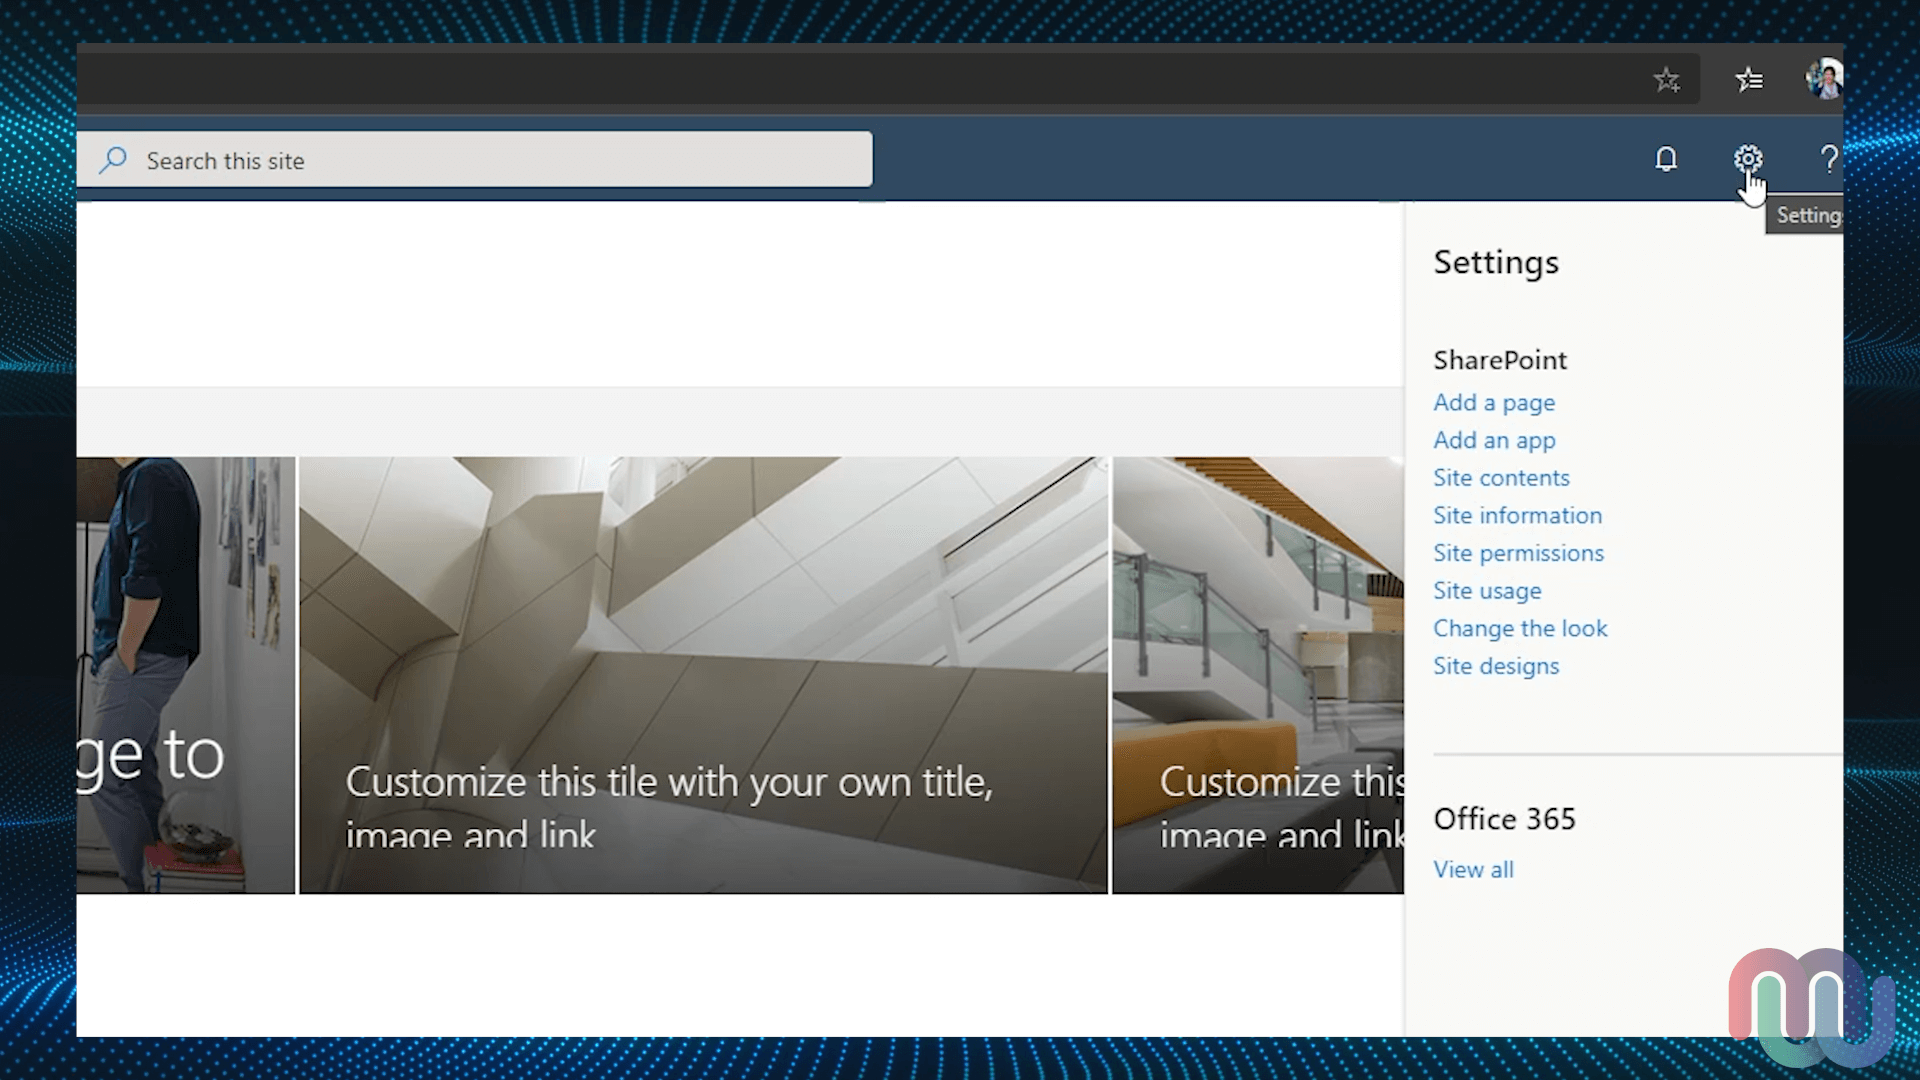
Click on “Site permissions” to view user permissions. You will see drop-down menus for “Site Owners”, “Site members”, and “Site Visitors”. We will proceed by adding a colleague as a “Site Member” as this will allow them to add and edit content.
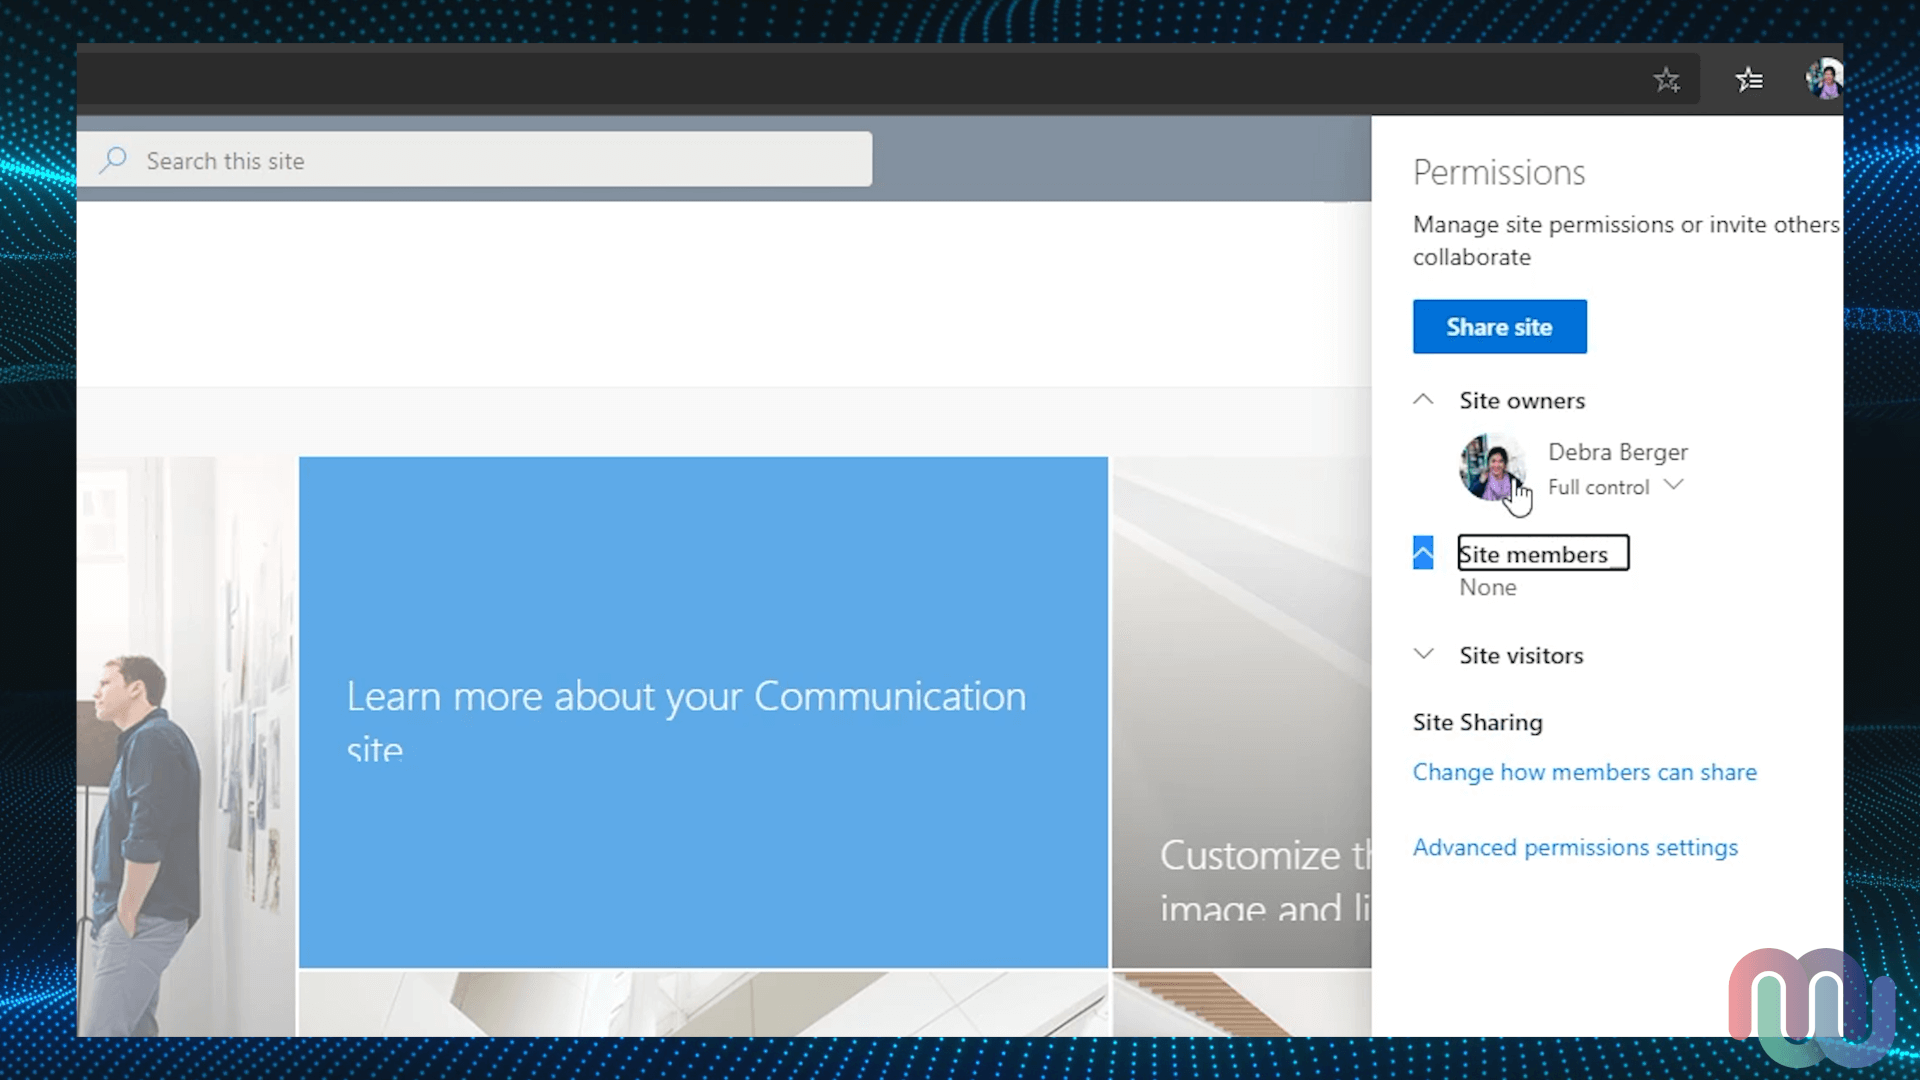
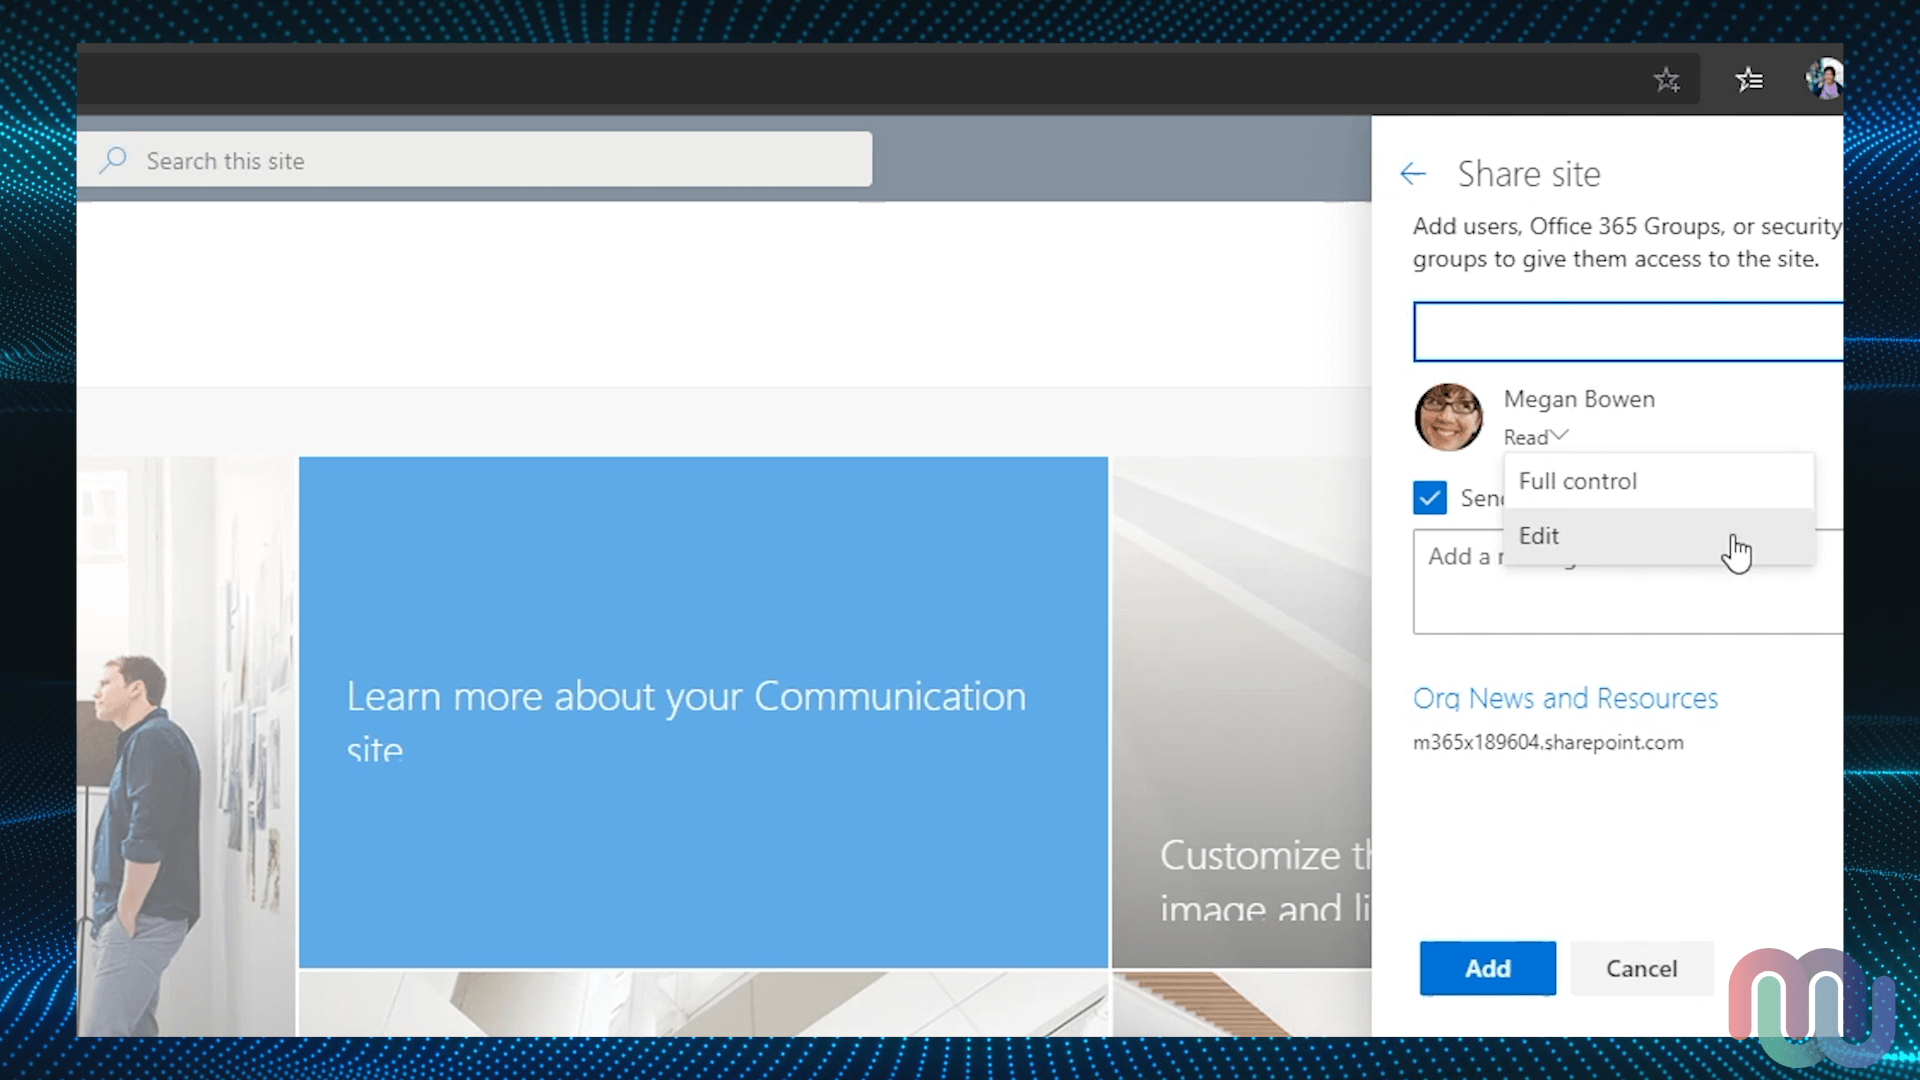
Click “Share site” to invite a colleague. Type their name into the field and click on their name to add them to the list. You can add as many people as you wish.
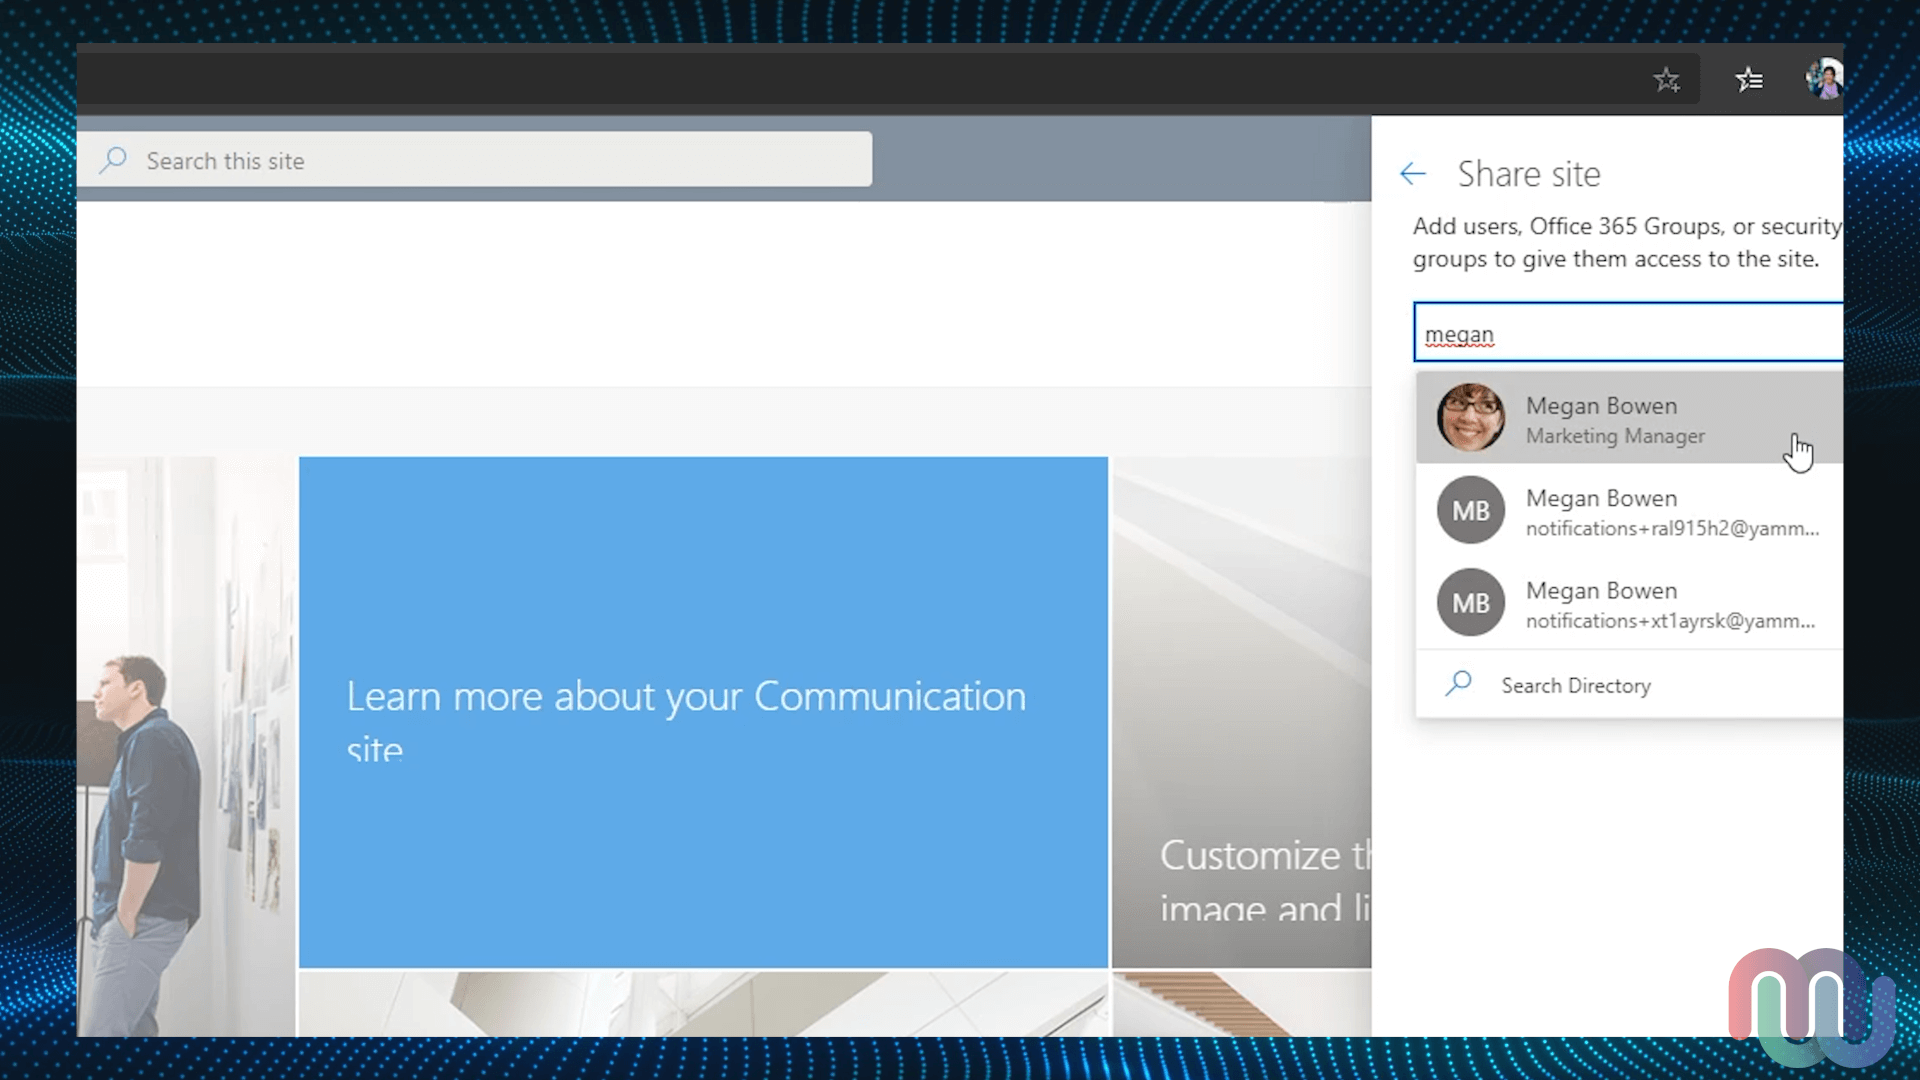
Click on the drop-down menu to change their permissions to “Edit”, then click “Add” to add them into the “Site members” group.
3. Upload resources to the document library
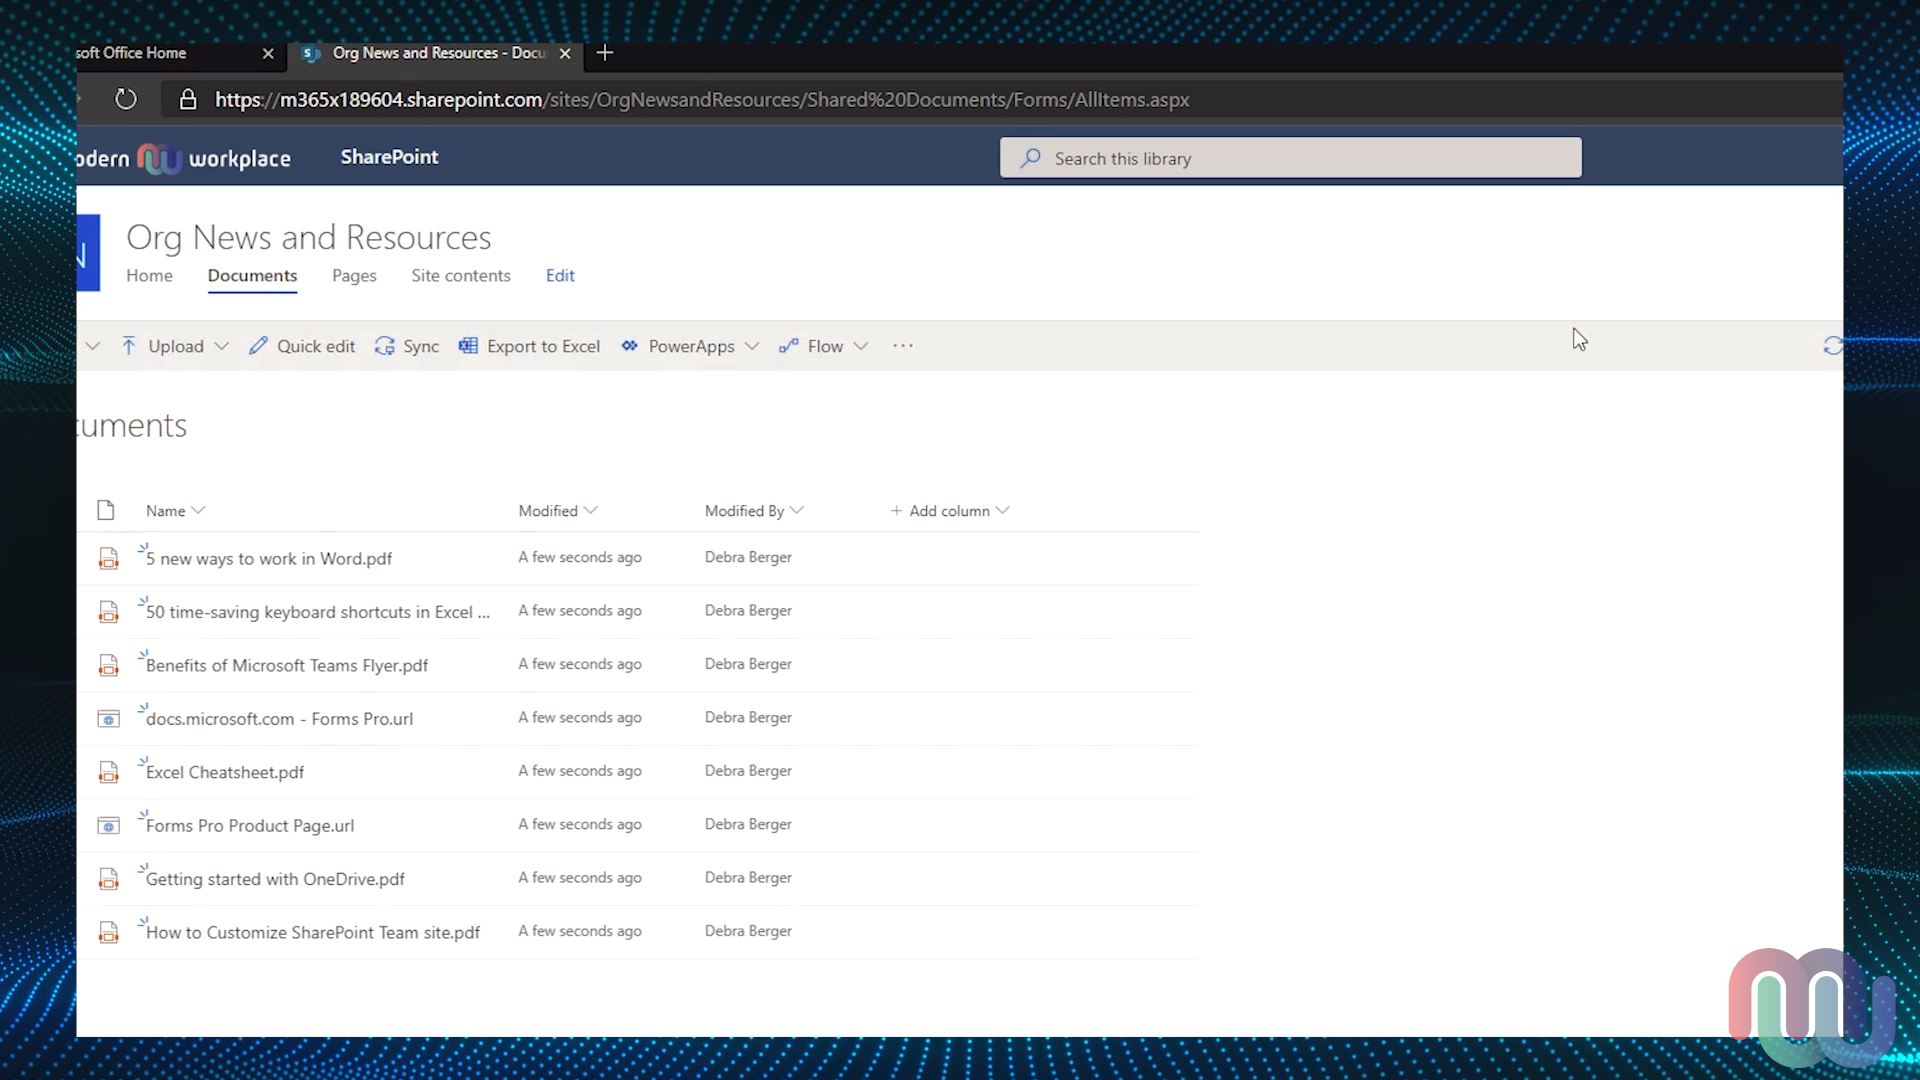
What’s a SharePoint site without files? Click on "Documents" found along the top navigation to access your document libraries.
Next, upload your sites files and folders as required.
TIP: If you need quick access to this document library, click here to learn how to sync files to your computer.
4. Write and Publish Your News Posts
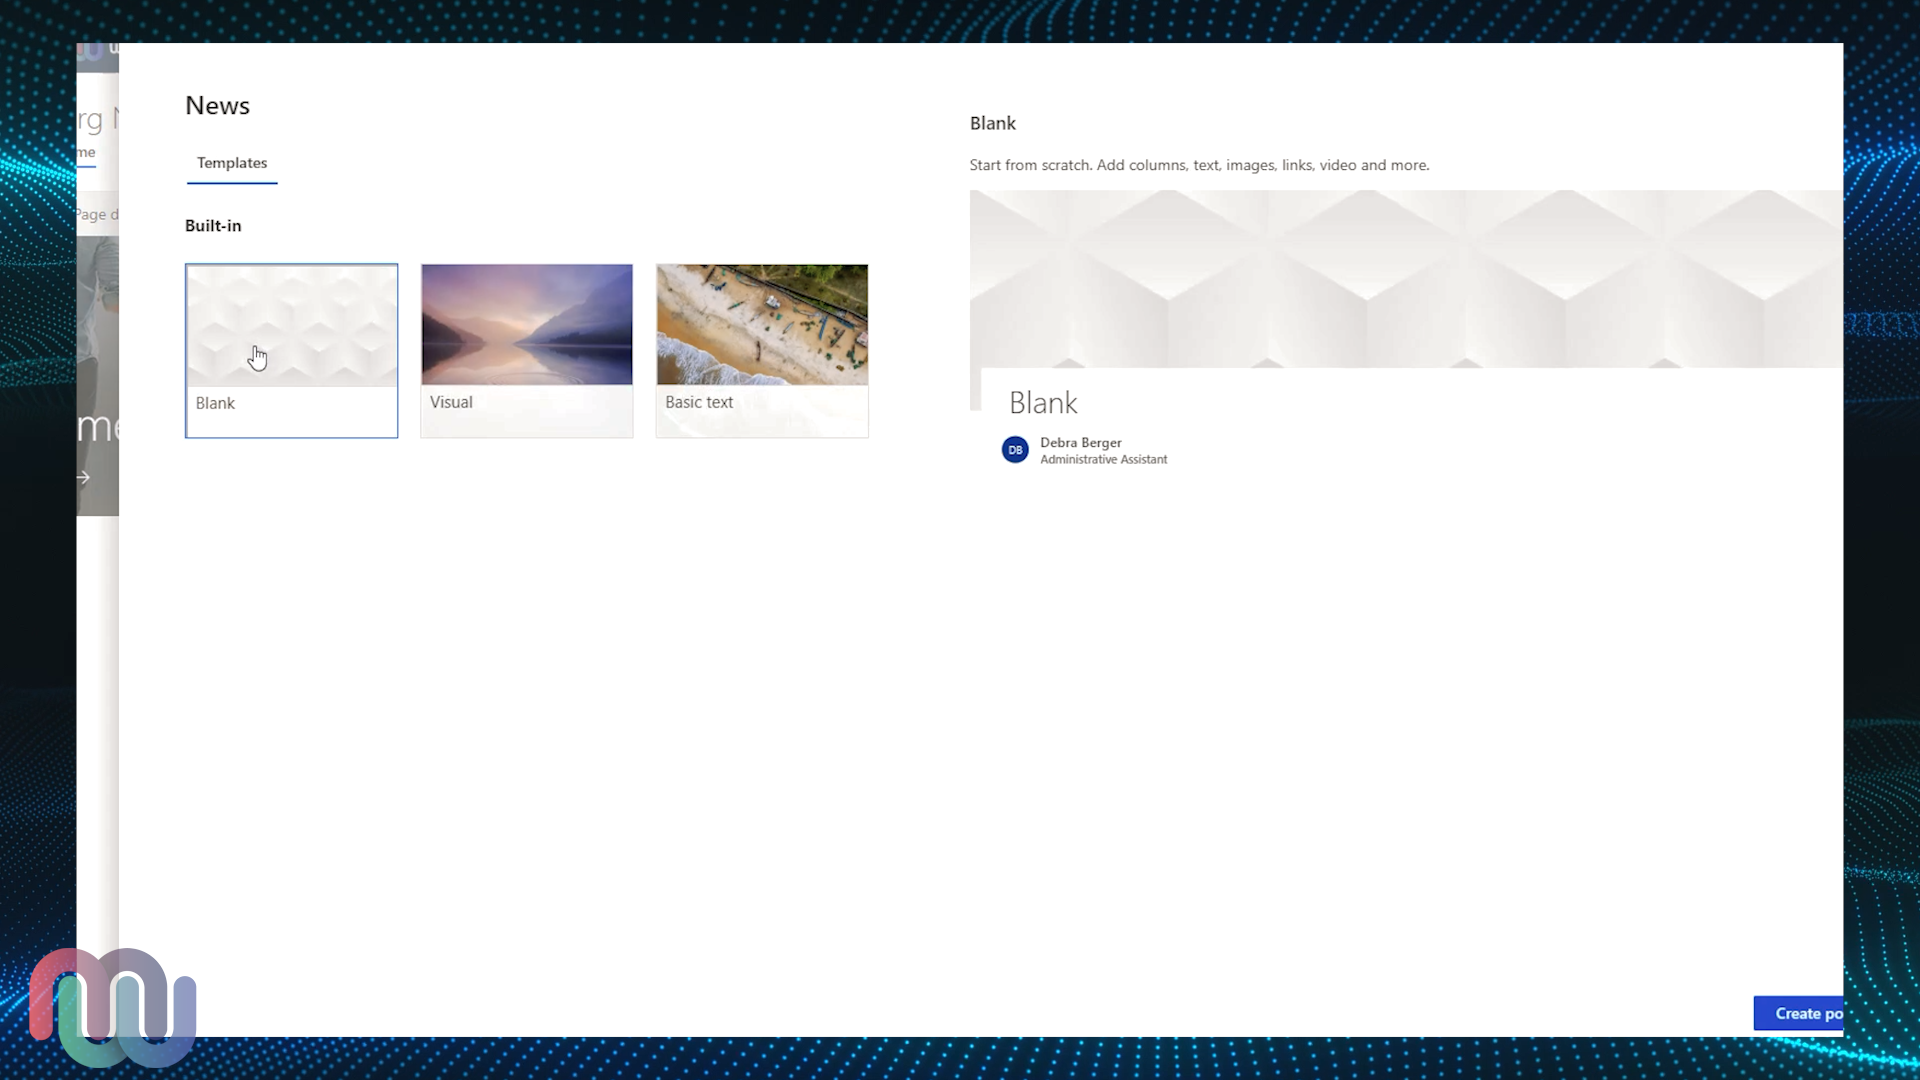
From your site’s front page, click New > “News post”. Select the “Blank” template and then click “Create post”.
Your News post is largely made up of web parts and a page header. Click here to learn how to create a blog post if you need additional guidance on this step.
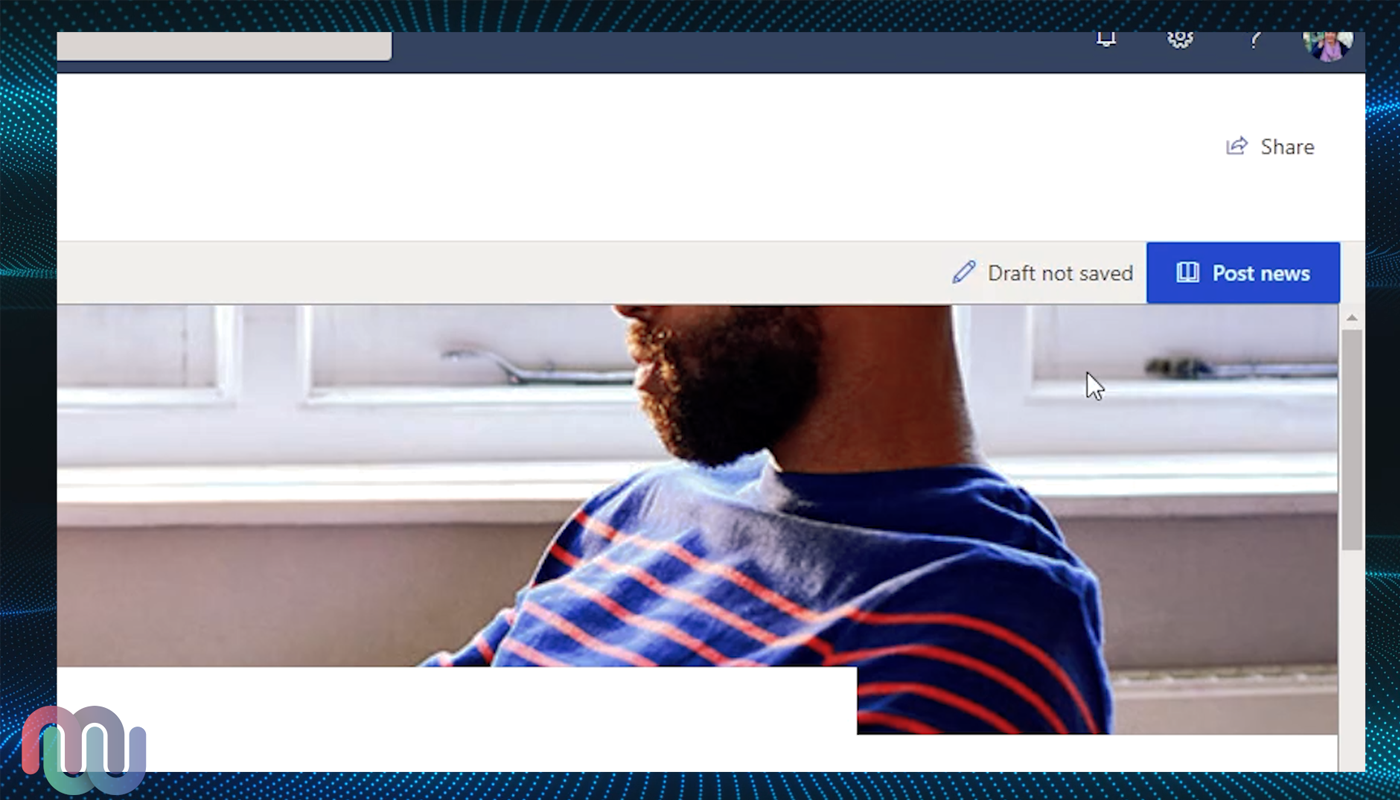
Once you're finished writing, click “Post news” to publish this piece to your site. Don’t worry, you can always go back to edit it later if needed.
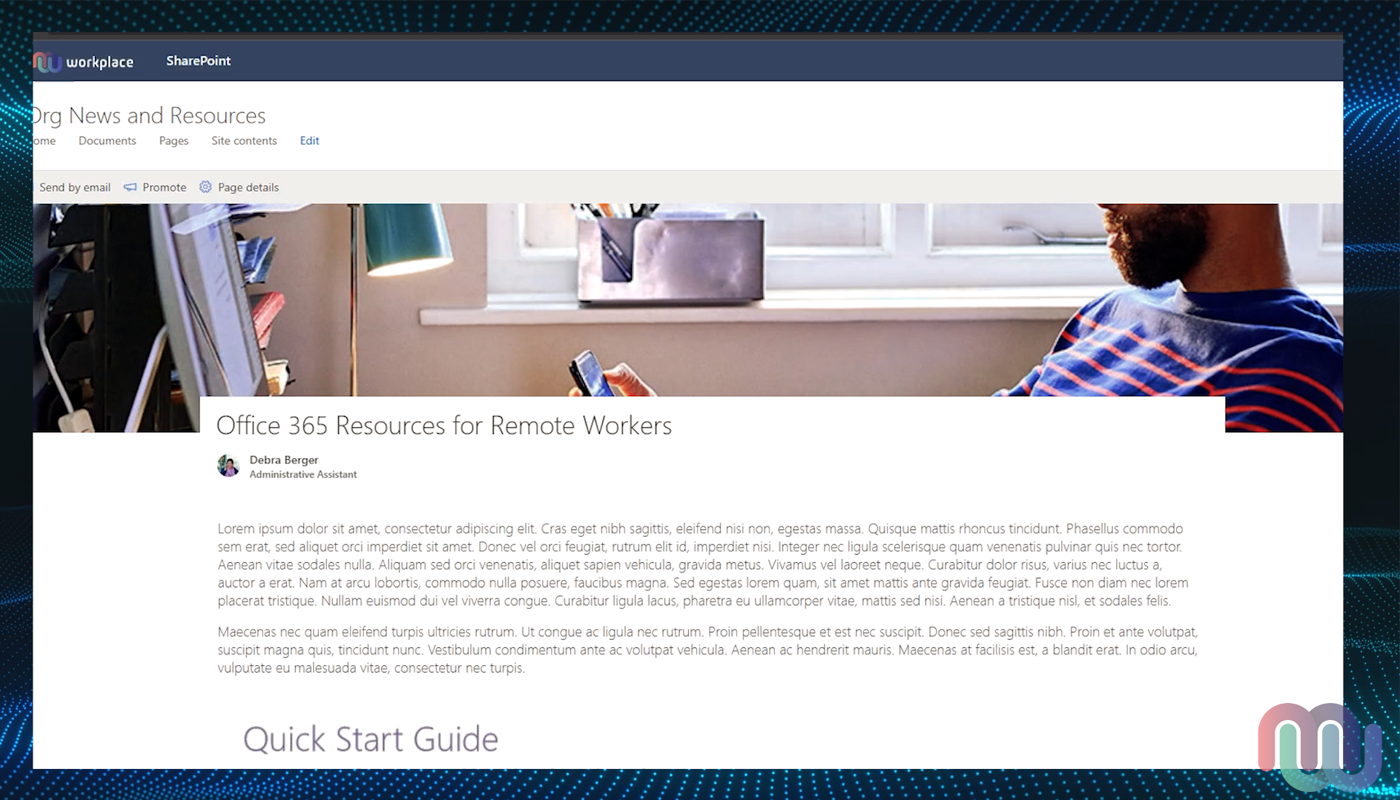
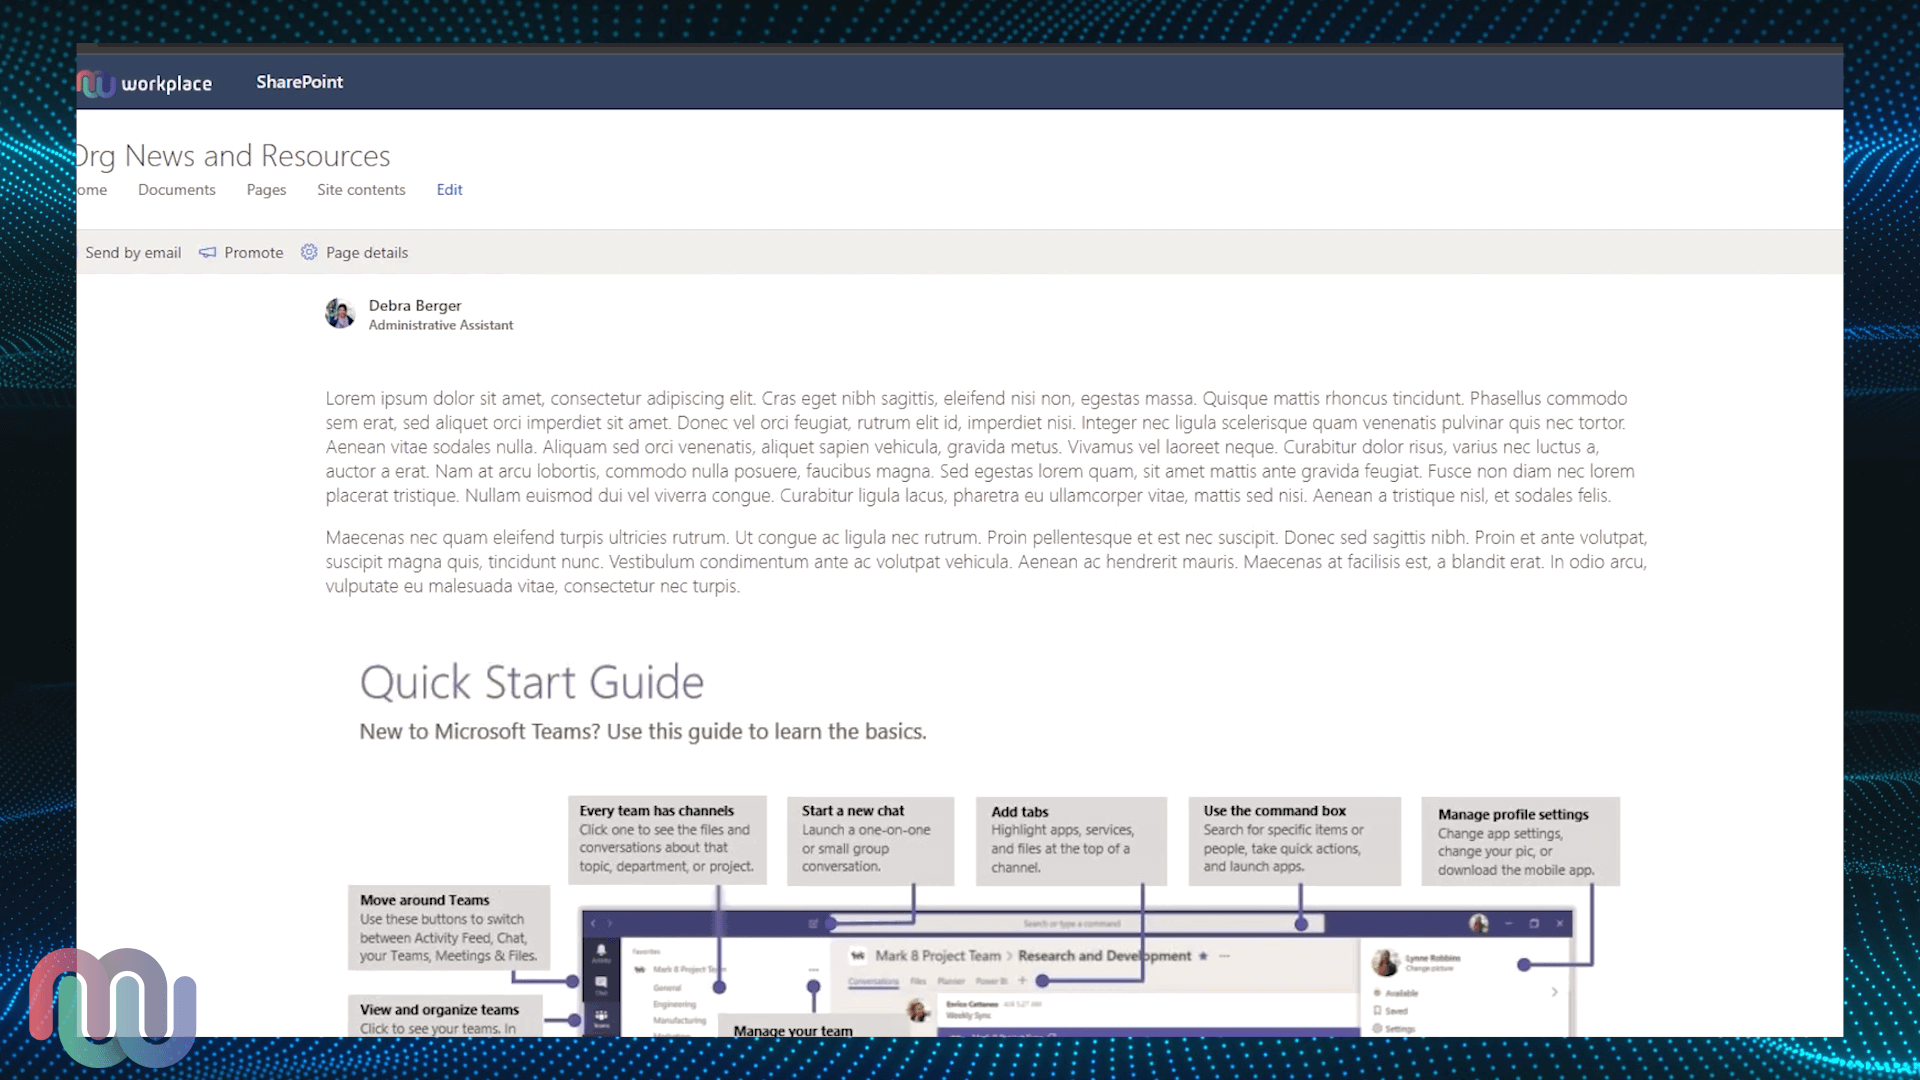
Here's a sample of what the finished product looks like:
Note below that you can embed the files from SharePoint directly into your blog post.
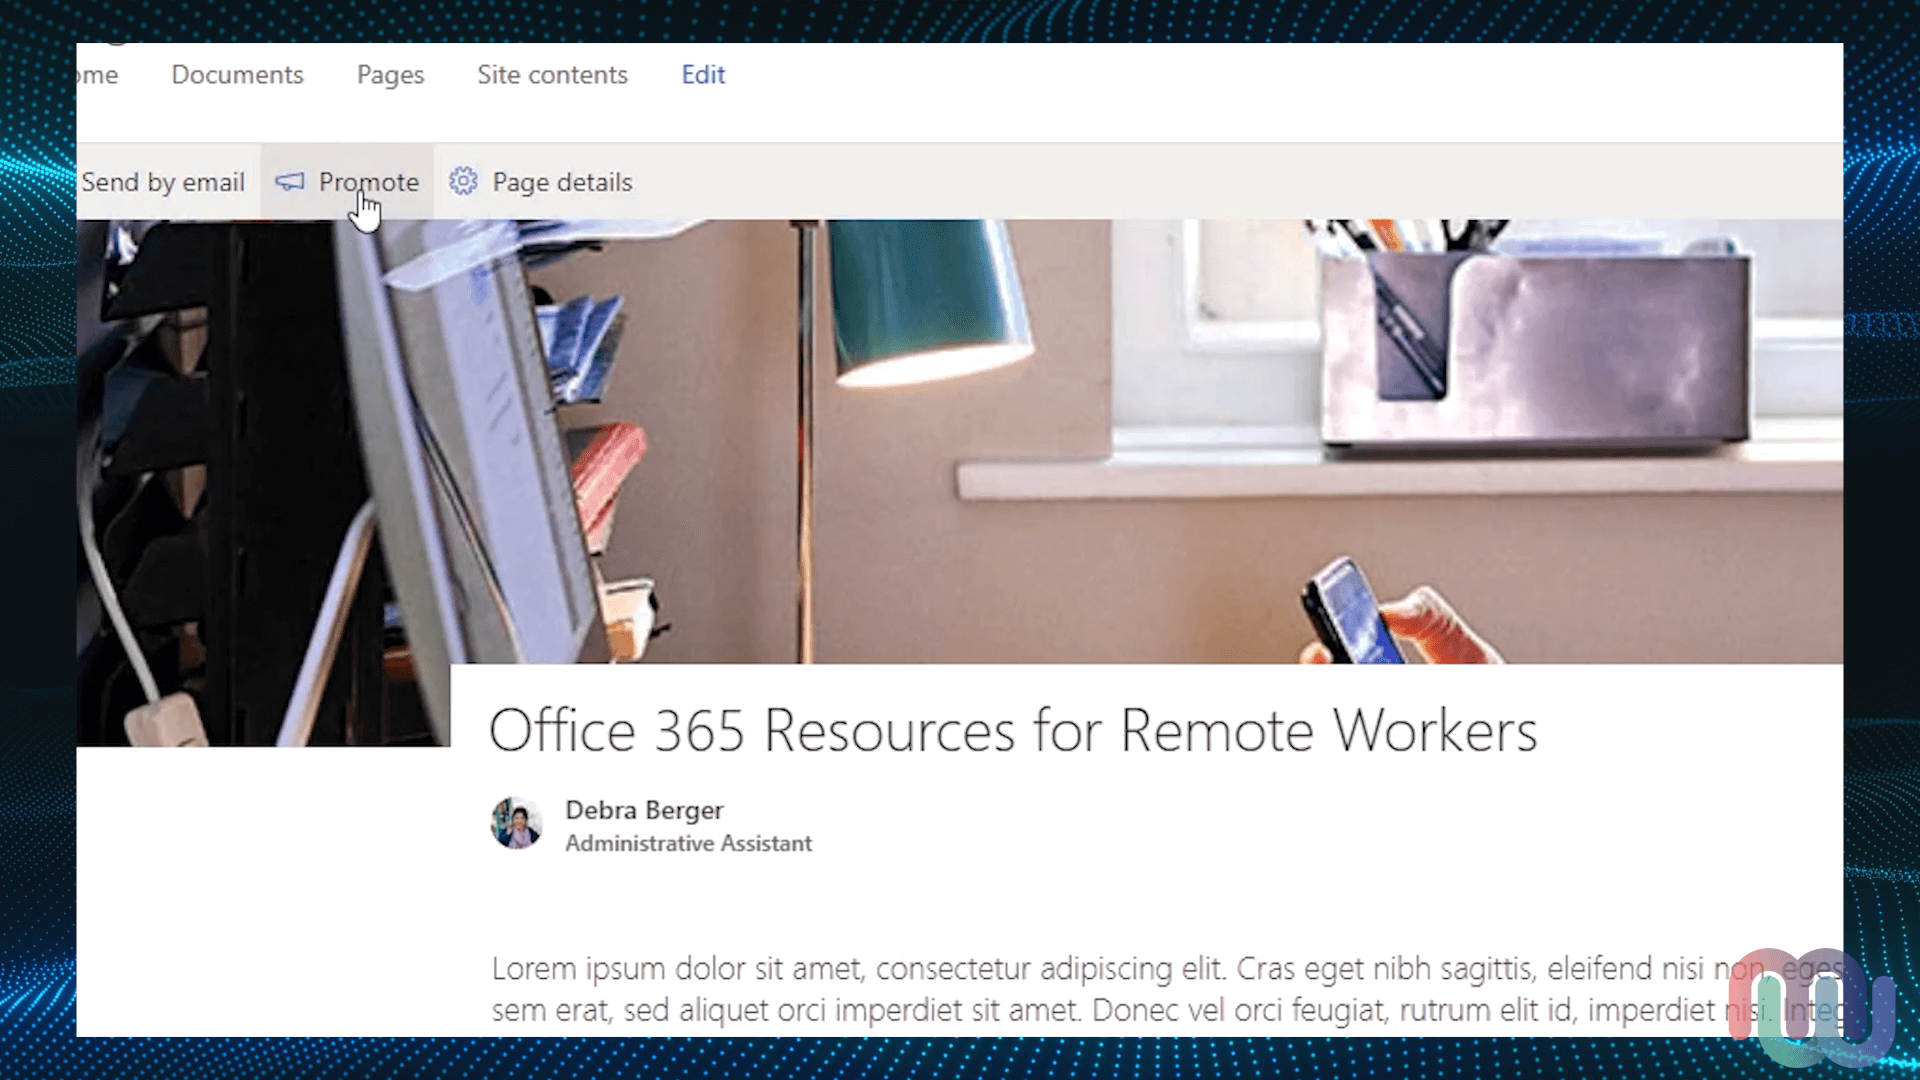
5. Promote Your News
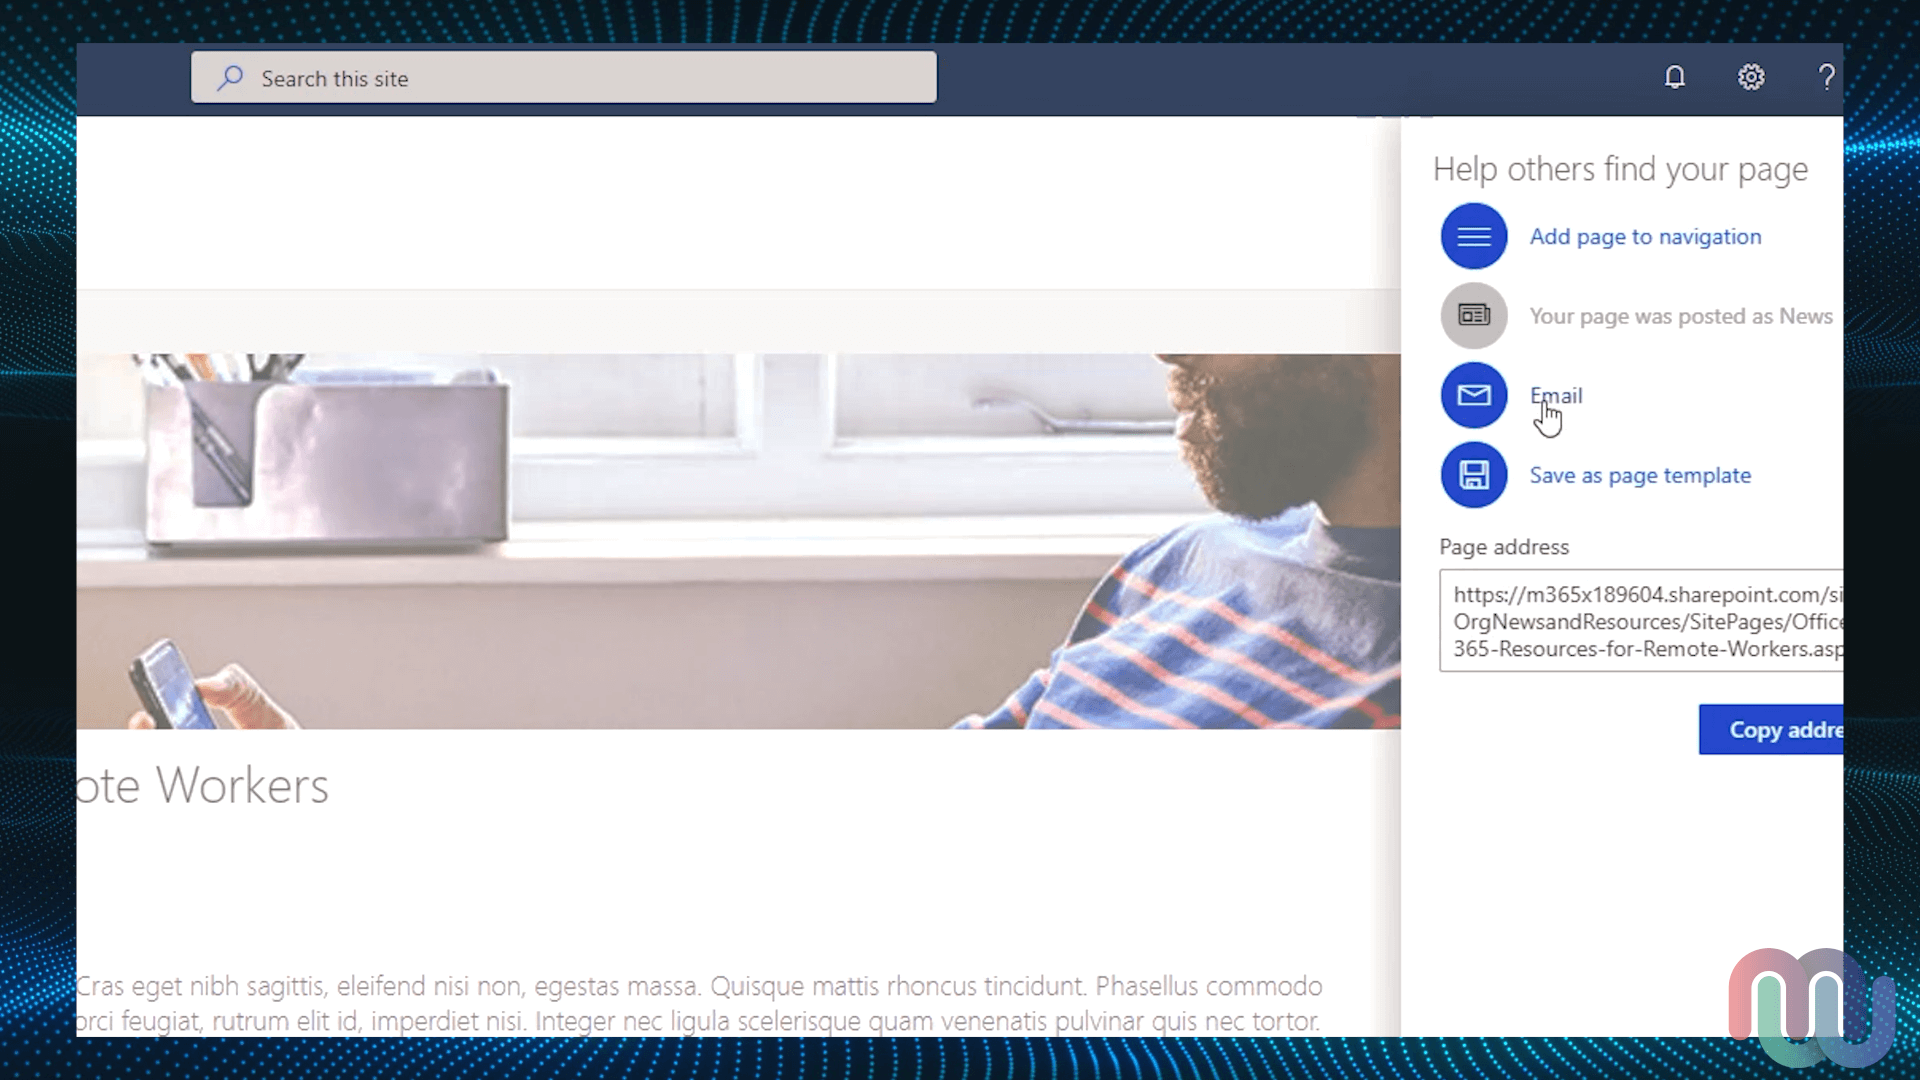
Open your blog post and click "Promote". This will open a side panel that will give you some sharing options, such as email.
Select "Email" as this is how we're going to promote this article. You can also choose to copy the "Page Address" if you prefer to craft your own emails.
In the "Send this News post by email" window, add the recipients and write a quick message for them as well. Click Send to start firing out emails.

Your recipients will see a version of the email shown below.
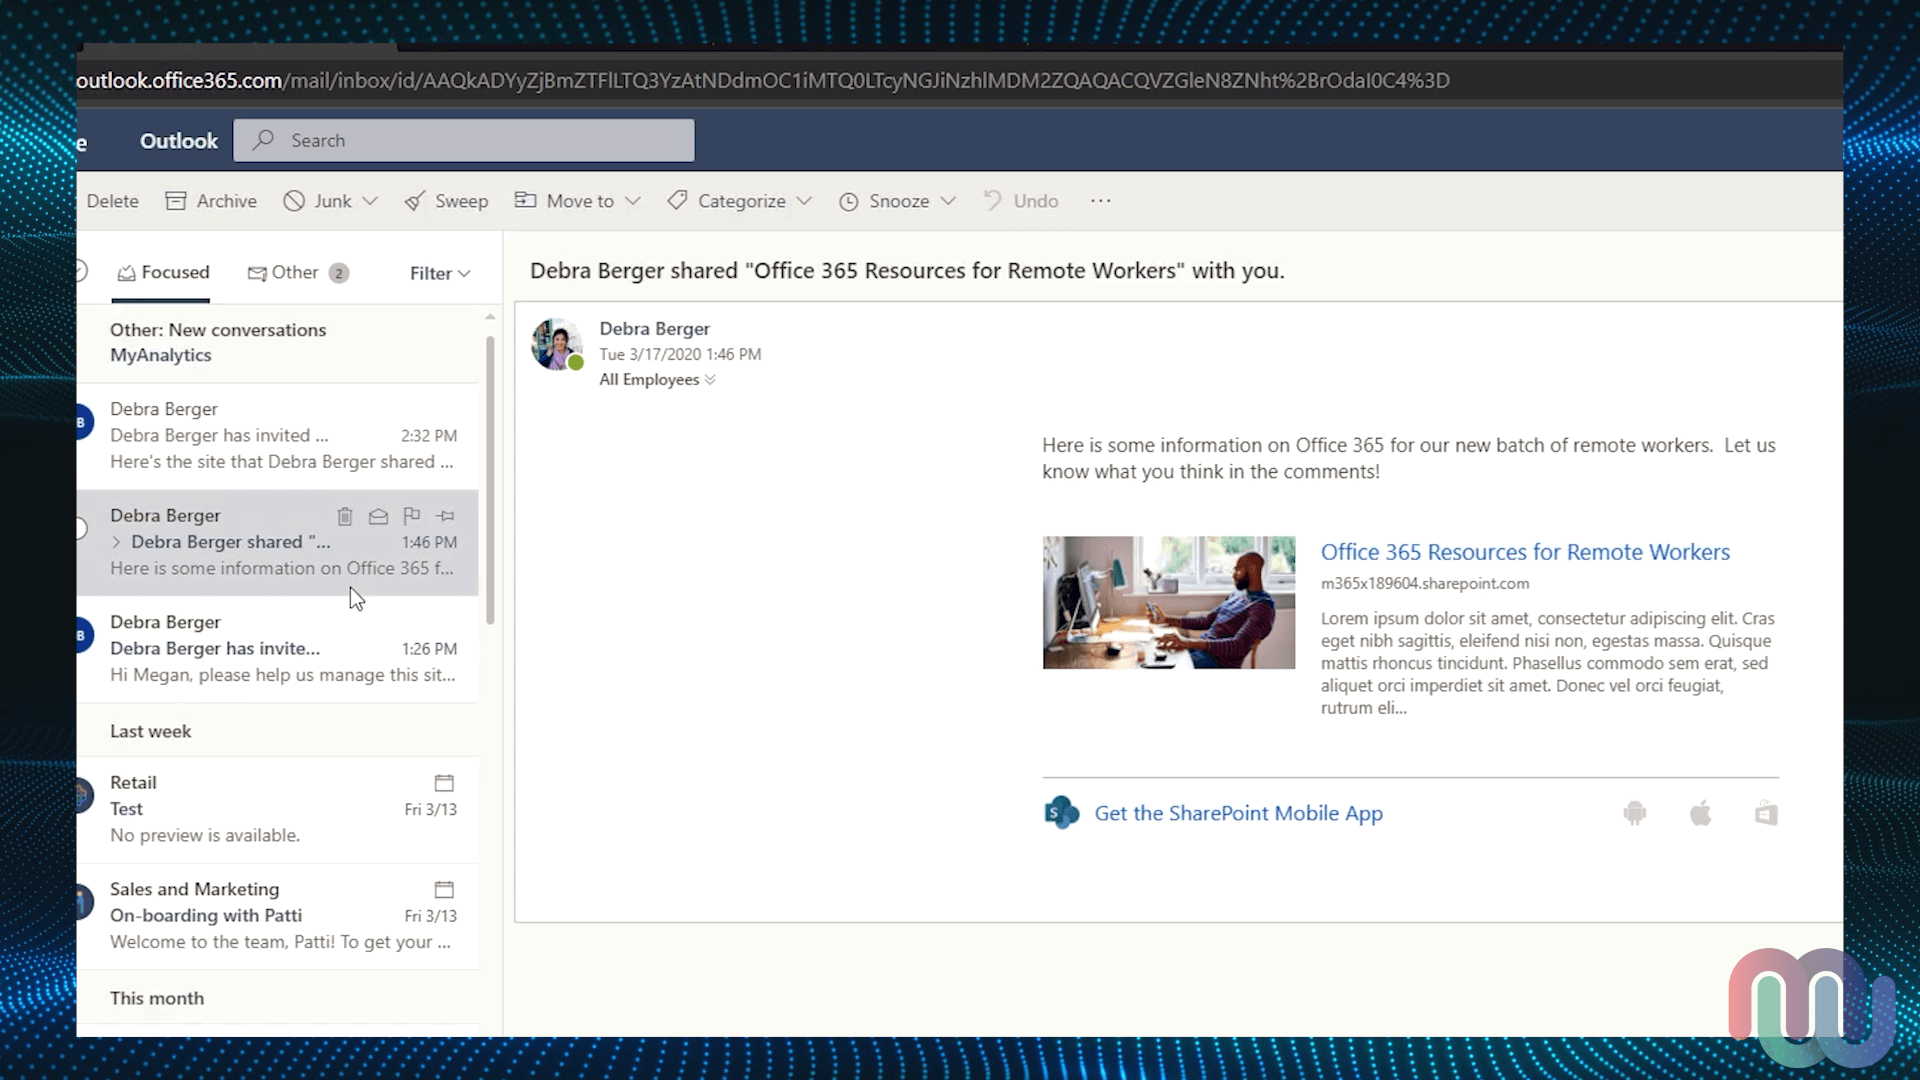
That's it! Thanks for reading!